

Art Dolls Made with Scrap Fabrics: Unleashing Your Creativity
The next time you’re wondering what to do with all those fabric scraps – TRY THIS art doll technique!

This technique can be used with almost any doll pattern. You simply place your fabric scraps over a base fabric to create the front and back of the doll pattern. You can sew the pieces down to the base fabric, OR leave them loose and add to them later like I do in the video below.


You do this placement process for all the pattern pieces that you want to look “scrappy.” Be careful about the overlap areas. You want to be sure your hemostats or turning tool can slide into those small places. This is why I’ve drawn arrows on my pattern in the photo above. That way I can remember which direction to overlap the fabrics.
Video on Making Scrappy Art Dolls
The video below shows how I made the scrappy art doll in a sped-up fashion. Keep scrolling to see which doll designs from Ballyhoo Creations were used in this project!
patterns and materials used in this project:
Grab your scrap fabrics and any embellishments you have in your stash. This is definitely a “use what you have” type of project. Stretch fabrics work best because they make it easier to turn the doll right-side-out and get a 3-D sculpted shape. But you can try other fabrics too.
You’ll need your scraps plus a backing fabric for both front and back sides of your pattern pieces. In my sample, I used no-show mesh stabilizer as my backing fabric because it’s thin yet strong.
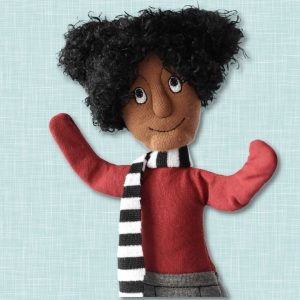
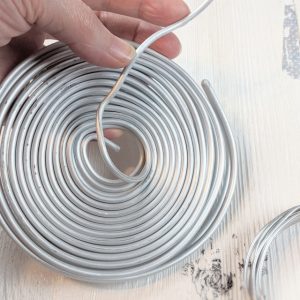
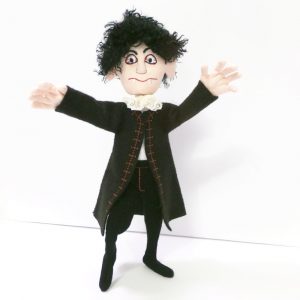
In the video, I used the in-the-hoop Elf package for the body and hat, plus the Skylar doll head with faux fur hair. I also have a blog post with video about making wire armatures to fit these art dolls.


