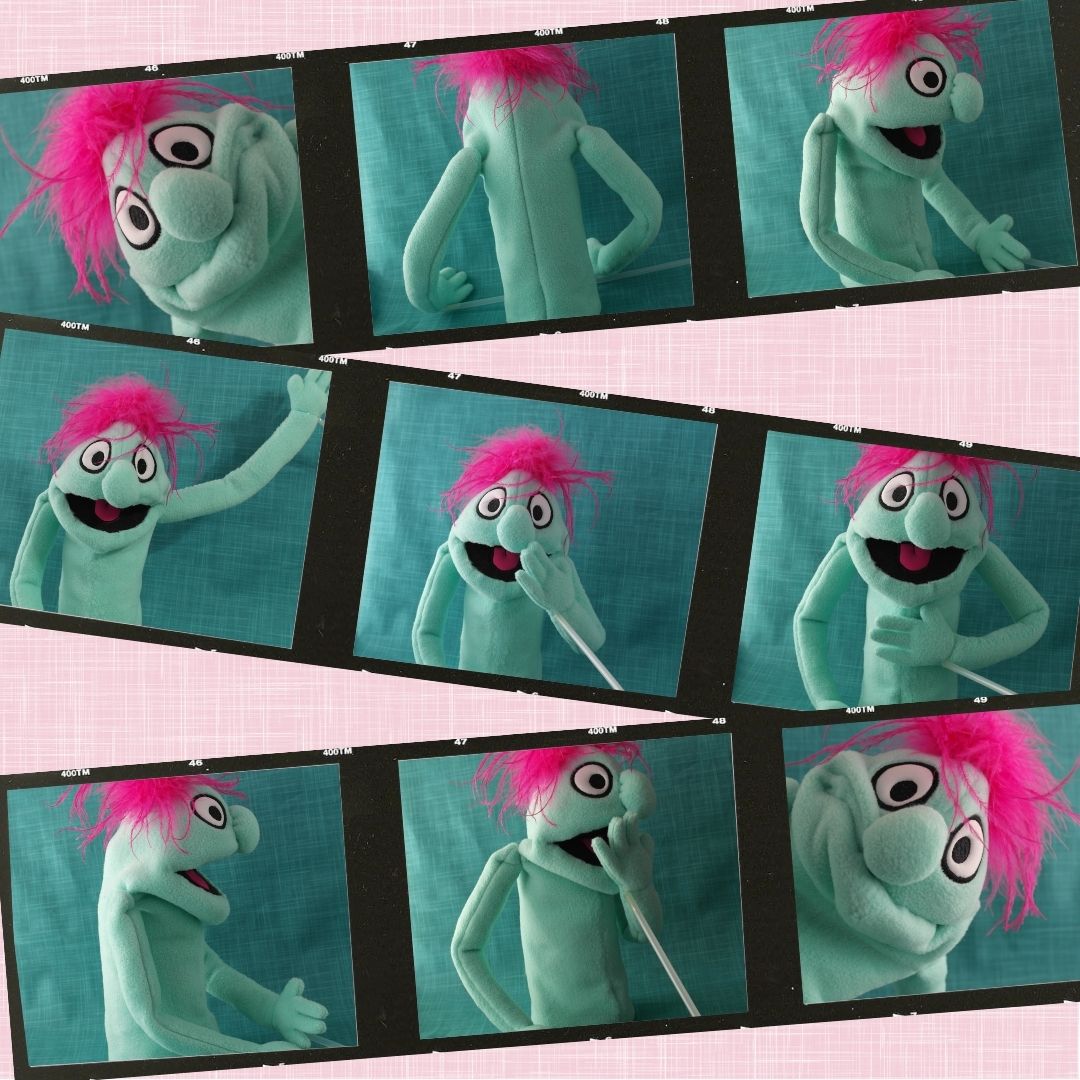
Yab Hand-and-rod Puppet pattern, made in-the-hoop
Original price was: $15.00.$10.00Current price is: $10.00.
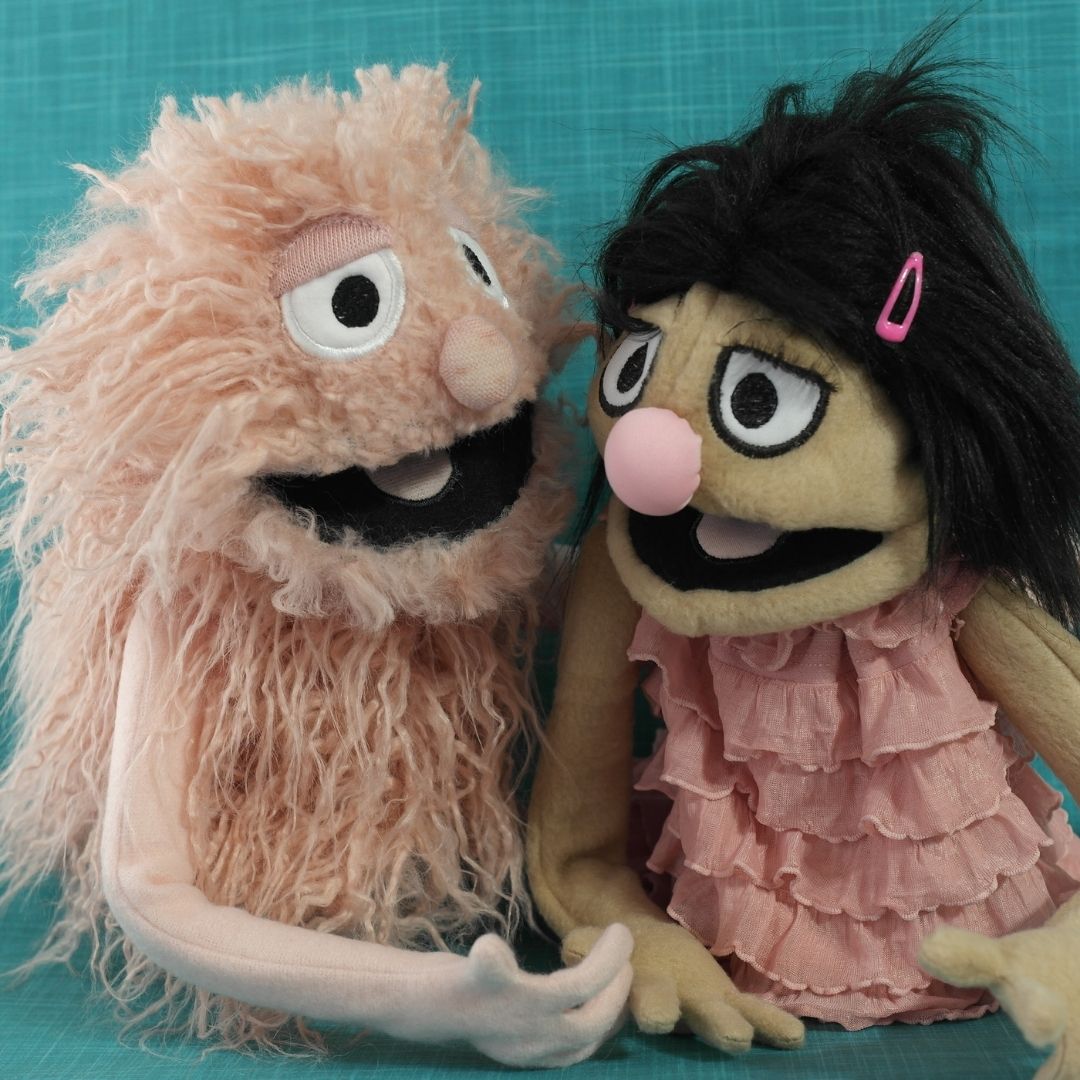
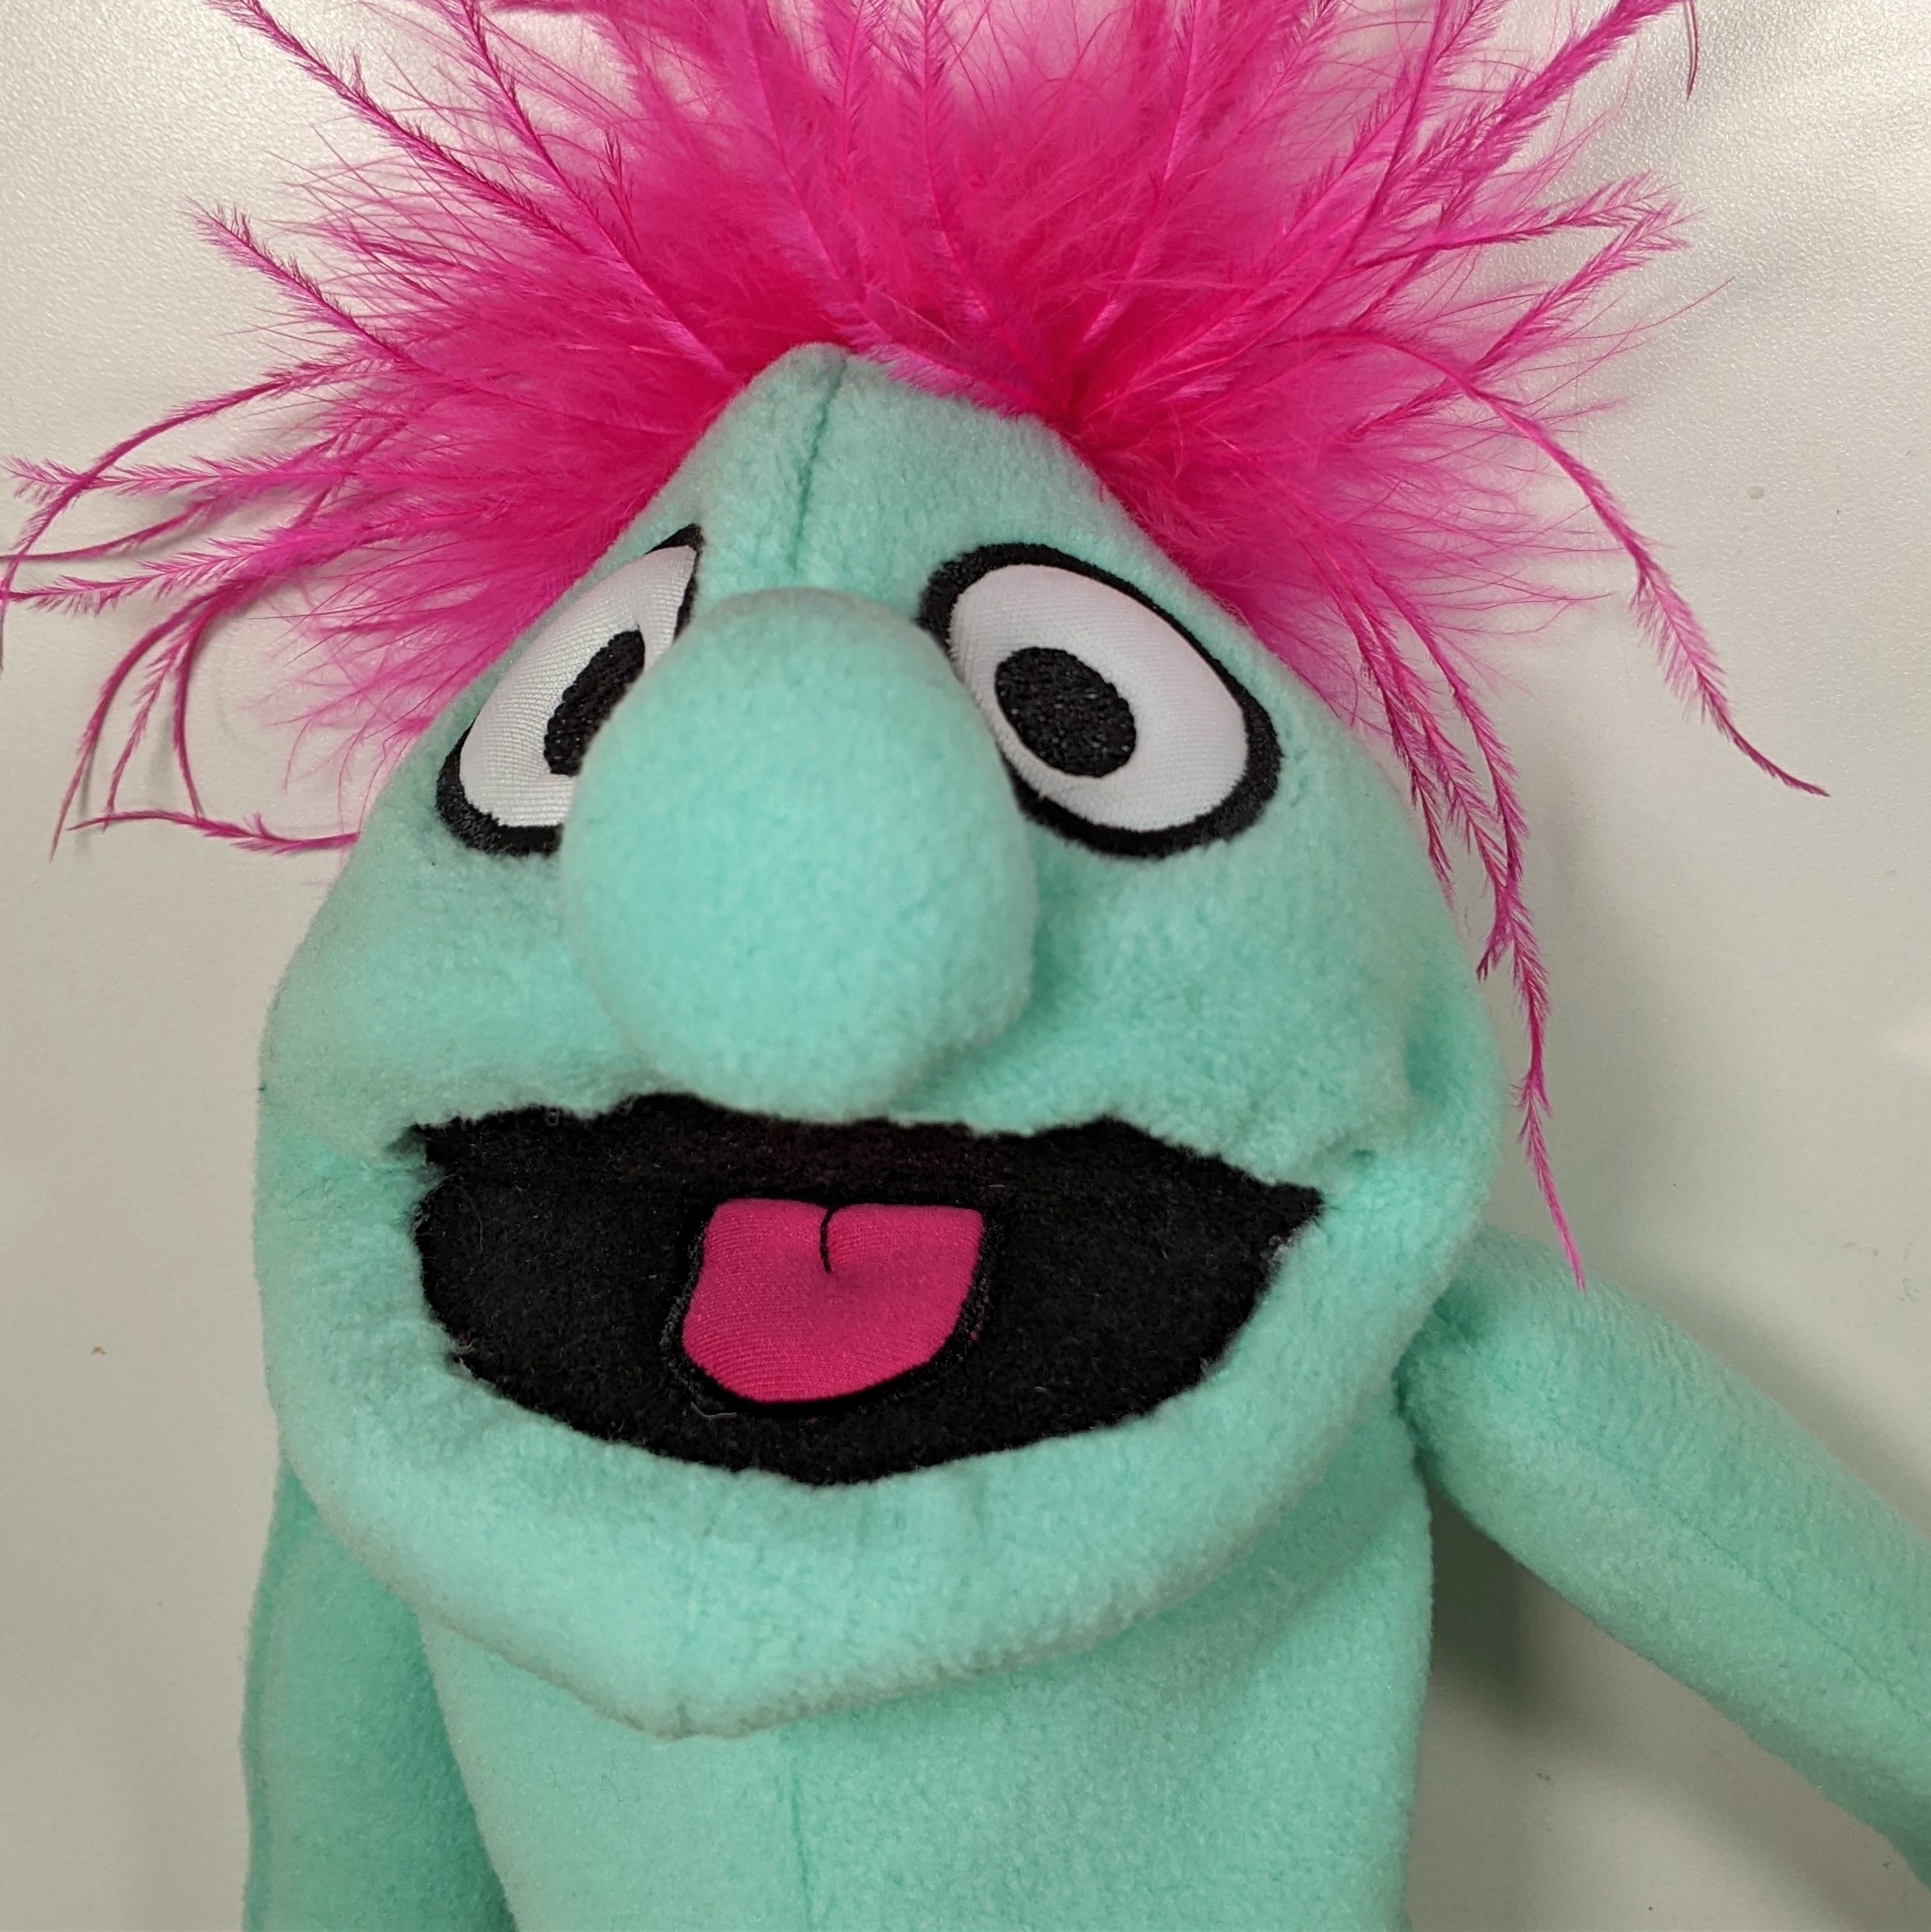
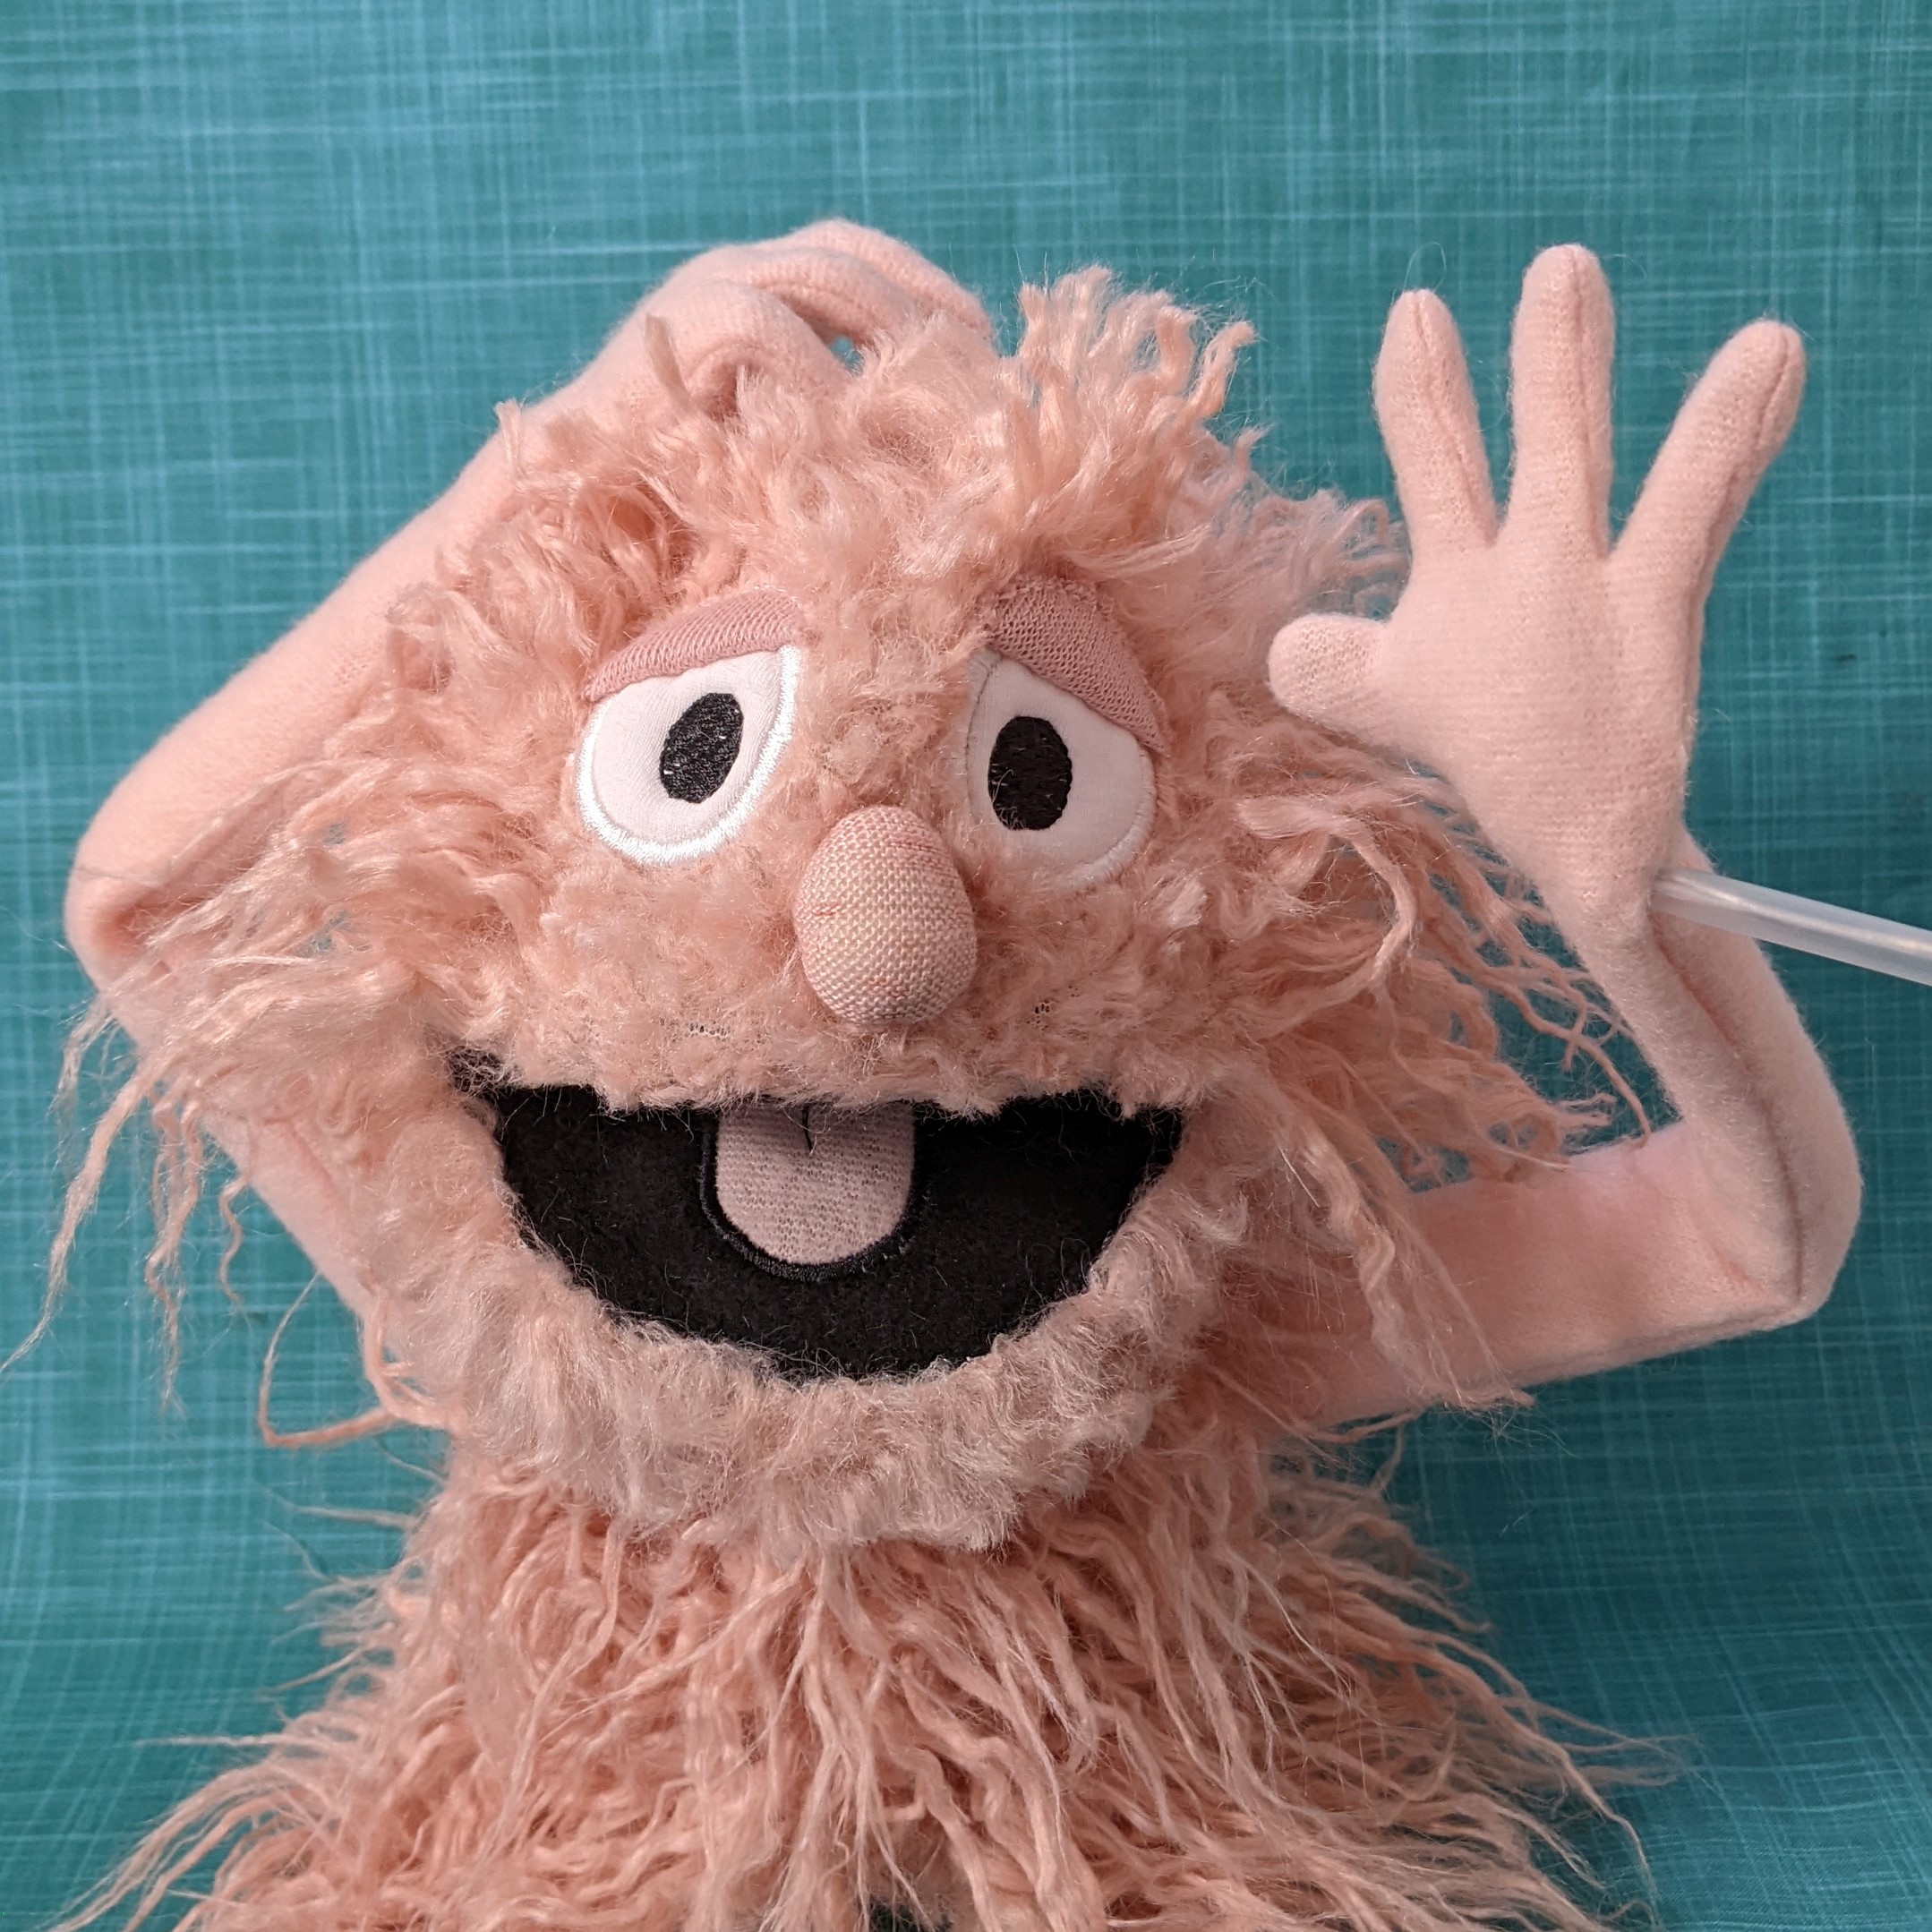
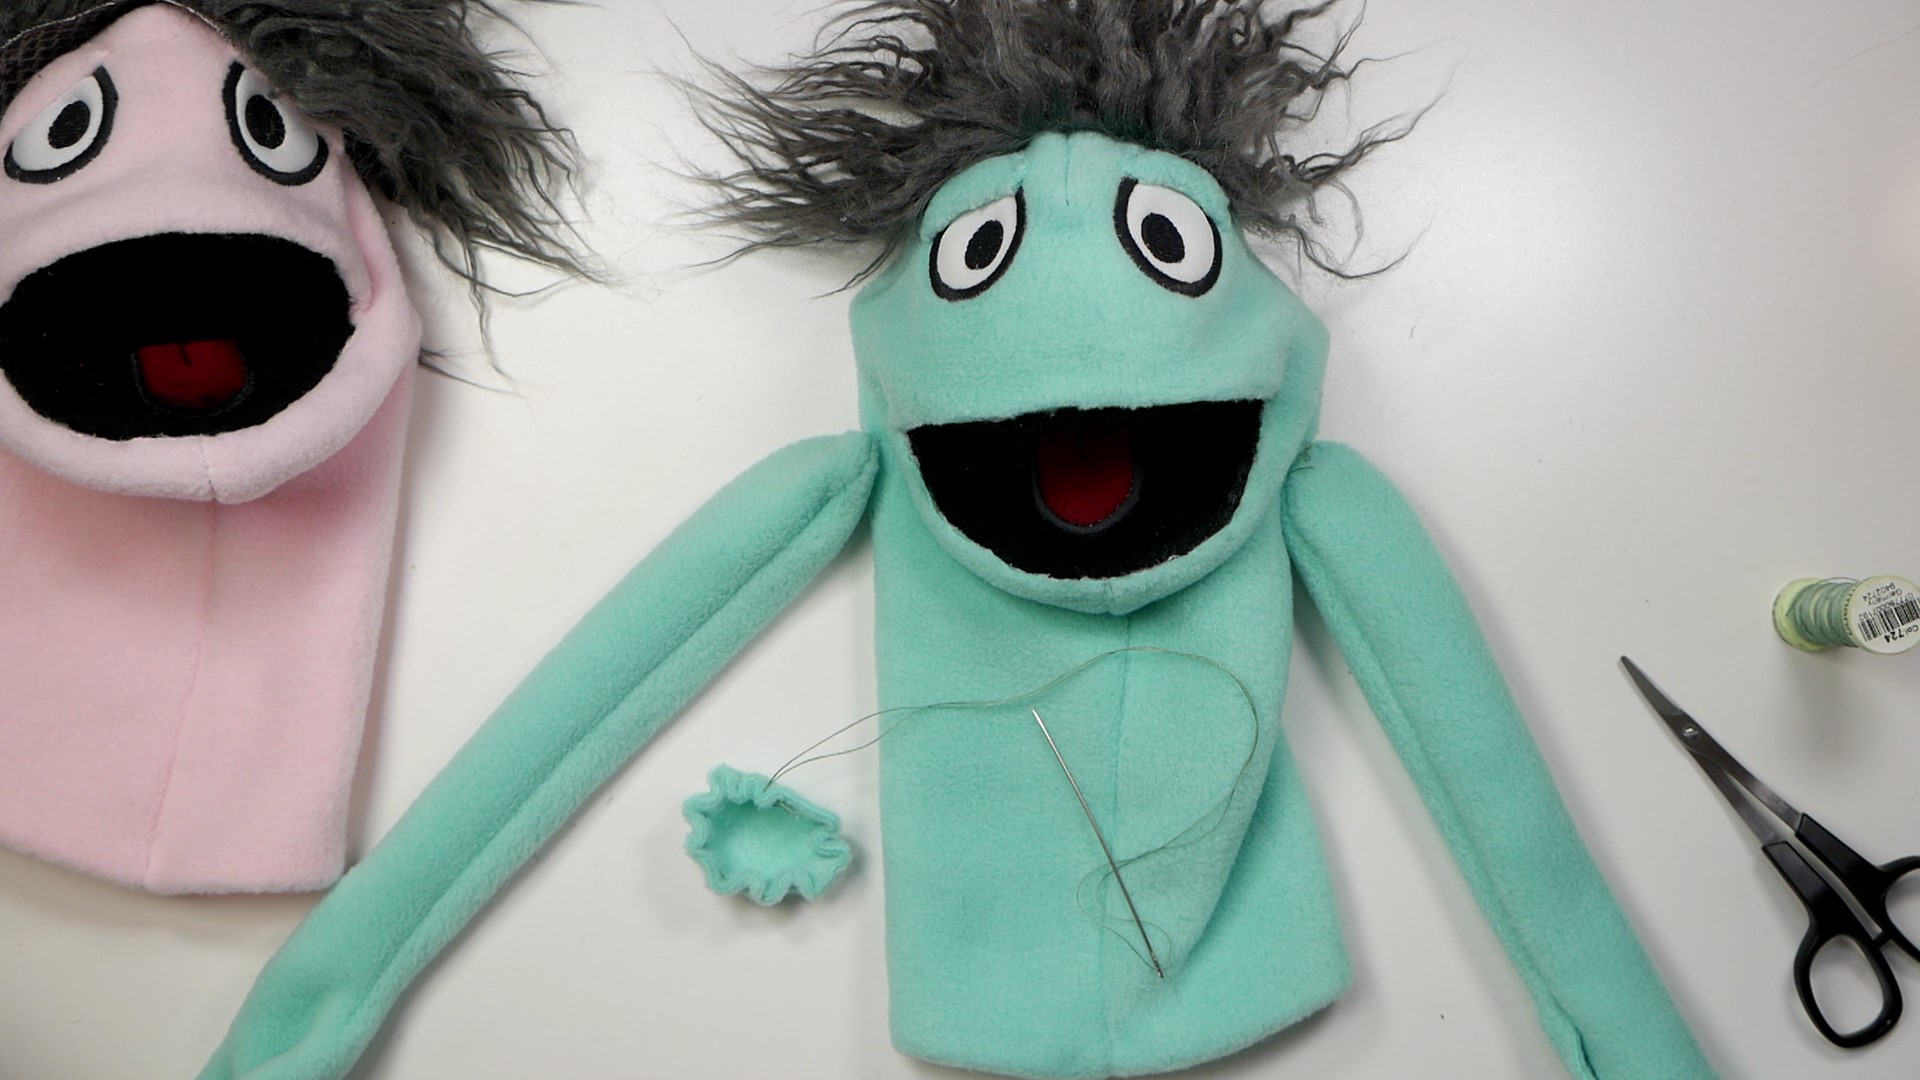
The design is named “Yab” because it’s a mouthy little puppet. You can completely change the look of the puppet with your own fleece or faux fur. Stitch up an entire cast of puppet characters with your embroidery machine. All photos on this listing were made with this pattern, so you can see how versatile it is!
Welcome to the world of hand-and-rod puppetry! One hand works the mouth, while your other hand works the arm rod(s) to make a fully interactive puppet.
- You CAN make a hand-and-rod puppet to delight people of all ages!
- Let your embroidery machine do all the hard work while you get all the credit for this charming project.
- The finished puppet is about 11″ tall and fits most hand sizes from child to adult.
- You will get 2 versions in your download:
- For 7×12 or larger hoops: the puppet seams are stitched in the hoop. Requires 4 hoopings.
- For 4×4″ hoops: most parts are stitched by your embroidery machine, then you complete some seams by hand or machine sewing using the included pattern templates. (requires 5 hoopings)
- Some hand stitching or gluing is needed to attach the mouthplate, arms, and optional nose or hair regardless of the machine hoop size
- FREE VIDEO TUTORIAL shows you all the steps with clear audio and video!
- Instructions with color photos also included
- Designed for Beginner Puppet makers!
All designs are digital downloads for embroidery machines. Files will be available immediately after purchase on a download page.
Estimated time to complete: 2-4 hours
Be sure to check the tabs above for more info like Supplies, and Specs!
Details
Your downloaded .ZIP file will include multiple sizes and machine formats in case you upgrade your machine to a bigger hoop or different brand, you’ll still be able to use these designs!
The .ZIP file contains these machine file formats:


And comes in sizes for these hoops:


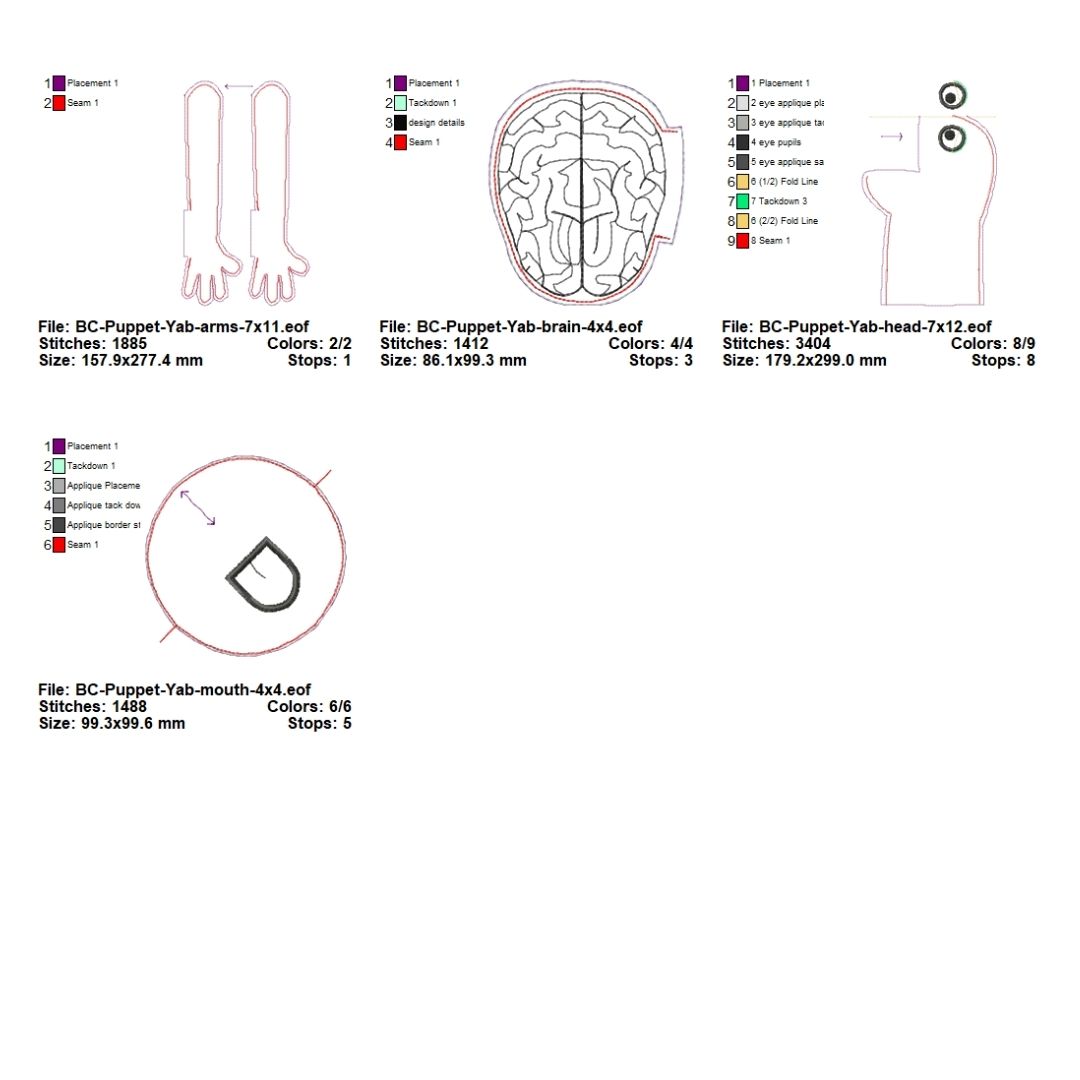
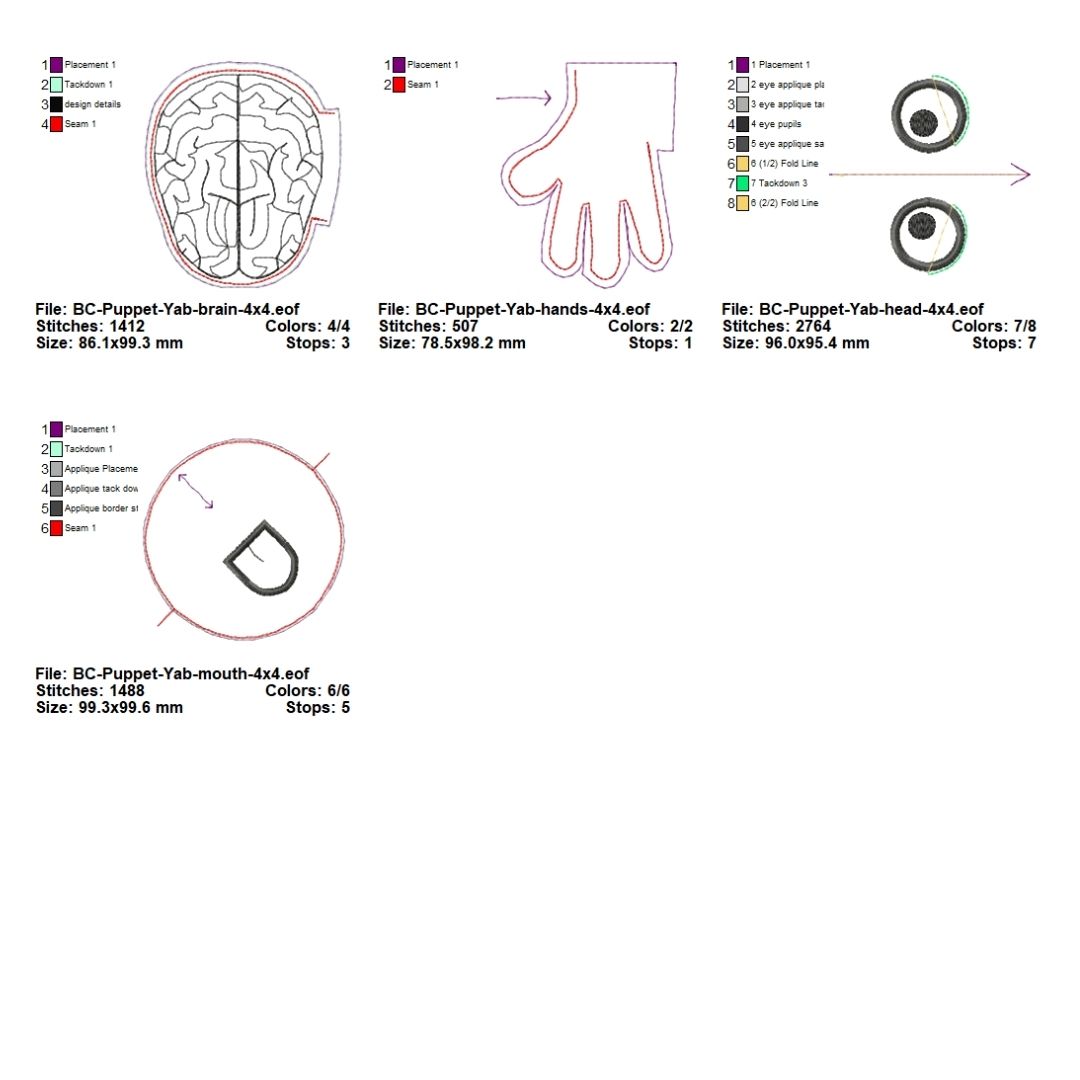
Please check the photos for exact design dimensions in millimeters to ensure it fits the hoops on your machine.
Number of Hoopings for this project: 4 with 7×12 hoop or larger, 5 if using 4×4″ hoop.
Documents included in your download:
-
- PDF instructions with photos and link to free video tutorial
- License file
- JPG photo sheets of design details for each design
Max purchase quantity = 1
Supplies Needed
Tools:
- embroidery machine with 4×4 hoop or larger (a size 90/14 needle may work better for thick fabrics)
- scissors, including applique scissors if you have them
- hemostats, forceps, or other turning instruments for hands/fingers
- pins or clips
- needle for hand sewing
Materials:
- Stabilizer: Tear-away stabilizer for head, arms, and mouth. Any stabilizer for brain
- Head & Body fabric: use thick and fuzzy fabrics like faux fur or quality fleece – need 1 piece 9″ by 24″ or longer
- Arms fabric – fleece or short pile fur – 2 pieces 7″ by 12″
- Black Fleece for mouth – 2 pieces 5″ x 5″
- Tongue fabric – 2″ x 2″ scrap of any fabric
- Eye Fabric – any white fabric, but stretch or scuba works especially well – 1 piece 4″ x 3″
- (optional) Nose and eyelid fabric – stretch fabrics suggested – 2 pieces 2″ x 2″ for eyelids, 1 piece 3″x3″ for nose
- (optional) Hair: faux fur, feathers, yarn or other hairy looking bits
- mouthplate stabilizer – 4×4″ of something rigid or flexible – plastic, cardboard, foamcore, food container, a placemat (more ideas in instructions doc) and some strong tape
- Fabric glue or needle and strong thread
- Arm Rods: wooden dowel, plastic balloon stake, or stiff wire, plus a rubber band and clear tape
- (optional) Fiberfill stuffing for arms/hands, or foam hair rollers to stuff the arms

