Whether you’re using sheets, rolls or bolts of stabilizer, let’s look at a few ways you can keep them tidy and close at hand. I’ll also show you some label techniques and give some storage tips.
If you’re brand new to machine embroidery Stabilizers and want to understand the different types, scroll to the bottom of this article for a video about cut-away, tear-away, wash-away and many others!
Stabilizer Storage Video
Watch the video below for the full version of my Stabilizer Storage Ideas, or read the points below to get a summary of the video.

Video Chapters:
- 00:00 Rolls, Sheets and bolts
- 00:49 Labels
- 02:38 Storing sheets
- 03:11 Storing Rolls
- 05:97 Stabilizer Storage Tips
Some links may be affiliate links where I will earn a small commission if you purchase, but it doesn't change the price you pay. Thanks for supporting Ballyhoo Creations! (●'◡'●)Rolls, Sheets & Bolts
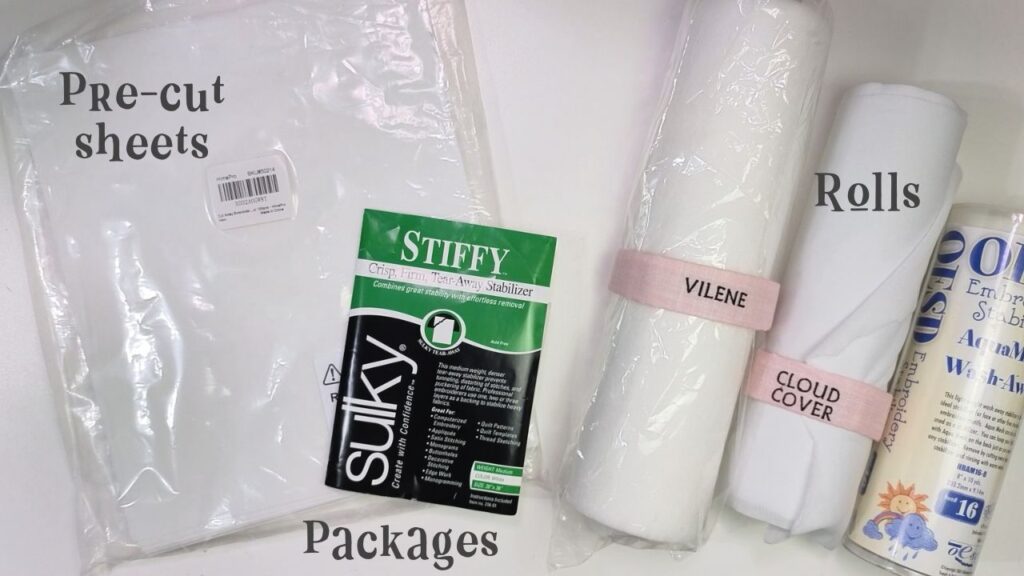
You can buy embroidery stabilizer in several forms whether it’s pre-cut sheets, or larger quantities on rolls and bolts. There are also smaller packages available, usually in 1 to 2 yards amounts so you can test and see what you like.
Pre-cut sheets are convenient. Buy them bigger than your actual hoop. 8×8″ sheets work for 4×4″ hoops, while an 8×12″ precut sheet fits 5×7″ hoops nicely.
Rolls come in different widths and lengths – as much as 50 yards of stabilizer which is a fat roll! These are nice because you can cut the amount you need to fit various hoop sizes.
Bolts are not used as often because it’s inconvenient to unroll the bolt just for cutting a small piece or stabilizer, and they are not as economical as they may seem. But they are available from some brands.
Then you have the small packs of stabilizer which is kinda like a sample size of 1 yard. You can often finds these by Sulky or Pellon at your local fabric and craft store. They’re good if you want to test something or use a small amount but they are not the best bang for your buck when you break it down into cost per square inch.
Some links may be affiliate links where I will earn a small commission if you purchase, but it doesn't change the price you pay. Thanks for supporting Ballyhoo Creations! (●'◡'●)Label Your Stabilizers
There are many ways to label your stabilizers, from basic to fancy.
If you only have a few kinds of stabilizers, you might not need labels. But if you have many types – and there are MANY types on the market – then labels are important. Many of these stabilizer look and feel alike.
Be sure to keep the original label for your stabilizer so it will be easier to re-order when you run out. You can cut the label off the plastic wrapper and tuck it inside the roll for safe-keeping.
Some people use toilet paper tubes to create a collar they can write on to wrap around a roll. I like my labels a bit more fancy.
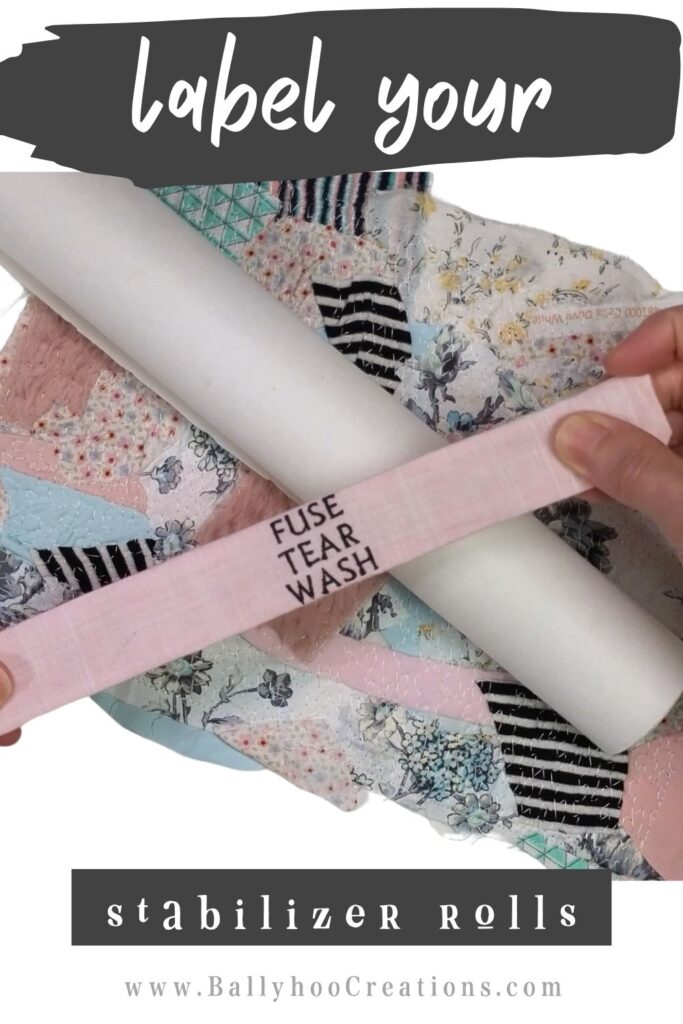
You can glue a clothespin onto some cardboard and cover that with a label to clip onto your stabilizer.
You can buy slap bands by Kimberbell to label and store your rolls. Or I’ve made my own DIY Slap Band Tutorial.
Storing Stabilizer Sheets
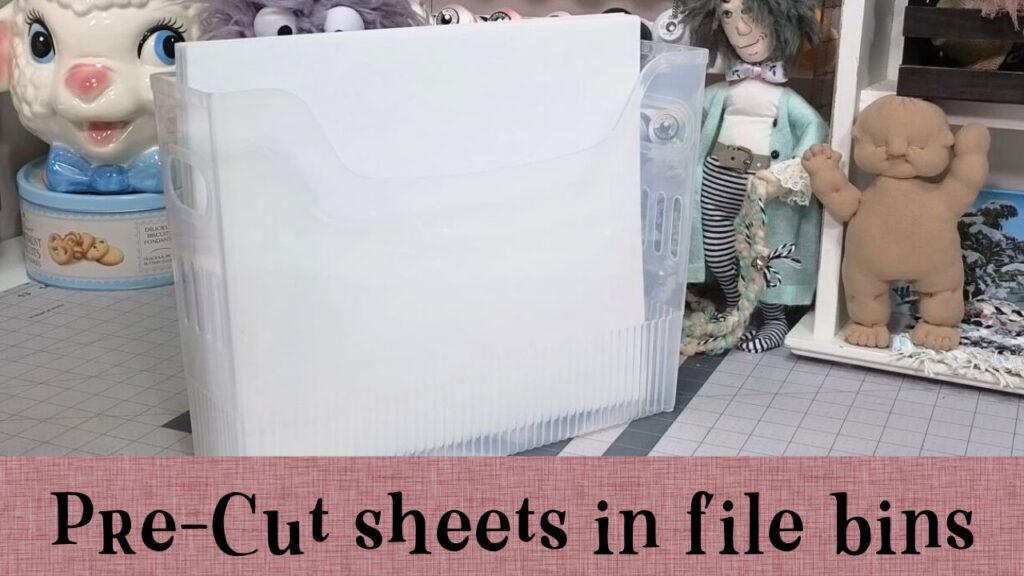
Stabilizer sheets can be stored in the same way you store paper or magazines. Look at file holders, magazine holders, or paper storage solutions for ideas.
You can organize them laying flat, as in paper trays, or stand them up in bins. Hanging your holder on a wall will free up that precious table space.
Storing Stabilizer Rolls
Rolls are my favorite way to buy stabilizers. I’ve got many of my rolls mounted to Ikea pegboard using their paper roll holders. This way my stabilizer rolls are always where I need them, easy to cut off the amount I need, and I can easily see when I’m getting low.
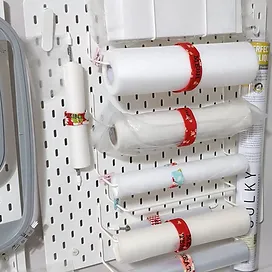
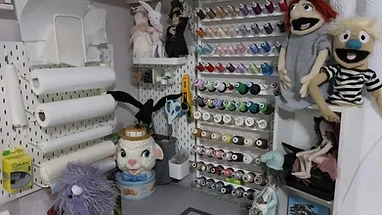
Ikea no longer sells those roll holders but you can search Etsy and find something similar for the IKEA pegboard or get paper towel holders for a different pegboard system. Just be sure your roll holders fit your pegboards since there are different versions of pegboard on the market these days and they are not compatible with each other.
You can also store your stabilizer standing in bins or crates.
You can purchase or make sleeve holders to hold your rolls. I like this stabilizer holder pattern by Sweet Pea and also this clear vinyl one on Amazon. Or check out this free sewing project at the Sulky website for a stabilizer roll holder.
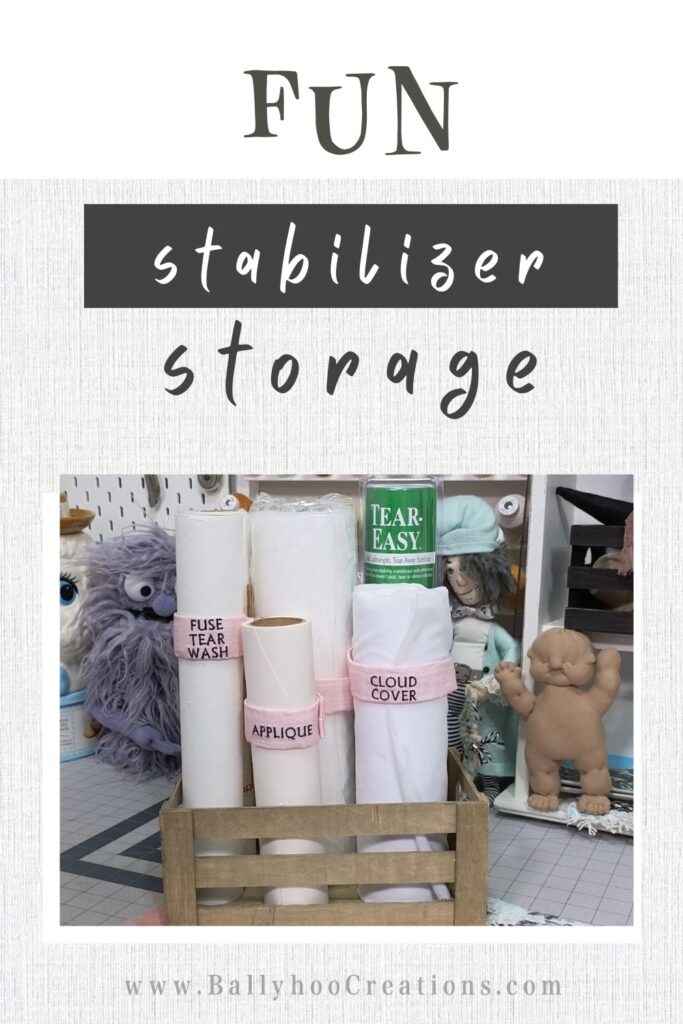
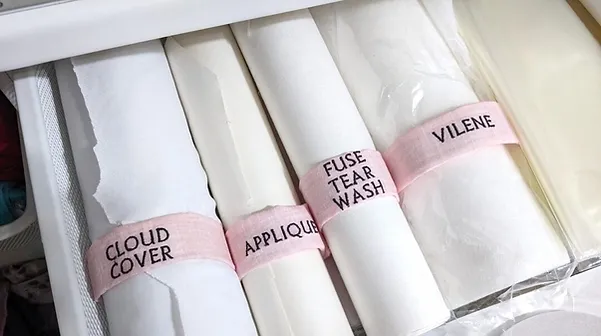
And of course, you can stash your rolls of stabilizer in drawers or boxes. Just make sure it’s easy to get to and put away, otherwise you’ll be creating a mess when your frequently used items are too tedious to put away.
A few Storage Tips
Be careful about using tape to keep your rolls from unrolling. The adhesive can stay on there and cause loopy stitches if it sticks to your needle and threads during stitchout.
Label your stabilizers so you don’t confuse your no-show mesh with your vilene water-soluble (learned that one the hard way)
Keep your water-soluble stabilizers covered in plastic. The humidity in the air will degrade them over time.
Save the original labels so you can easily re-order your favorite stabilizers. Tuck that label inside the roll.
Be sustainable! Save your scraps of stabilizer. You can glue or sew them together and re-use later. Or use bigger scraps for your smaller hoops.
Check out my Amazon Storefront for more storage solutions related to machine embroidery and sewing!
https://www.amazon.com/shop/ballyhoocreations
Some links may be affiliate links where I will earn a small commission if you purchase, but it doesn't change the price you pay. Thanks for supporting Ballyhoo Creations! (●'◡'●)Want to Keep Learning?
If you’re brand new to machine embroidery Stabilizers and want to understand the different types, I’ve got a video to help you understand the difference between cut-away, tear-away, wash-away and many more! You can find my entire beginner series for machine embroidery linked below, and lesson 6 is all about stabilizers.
