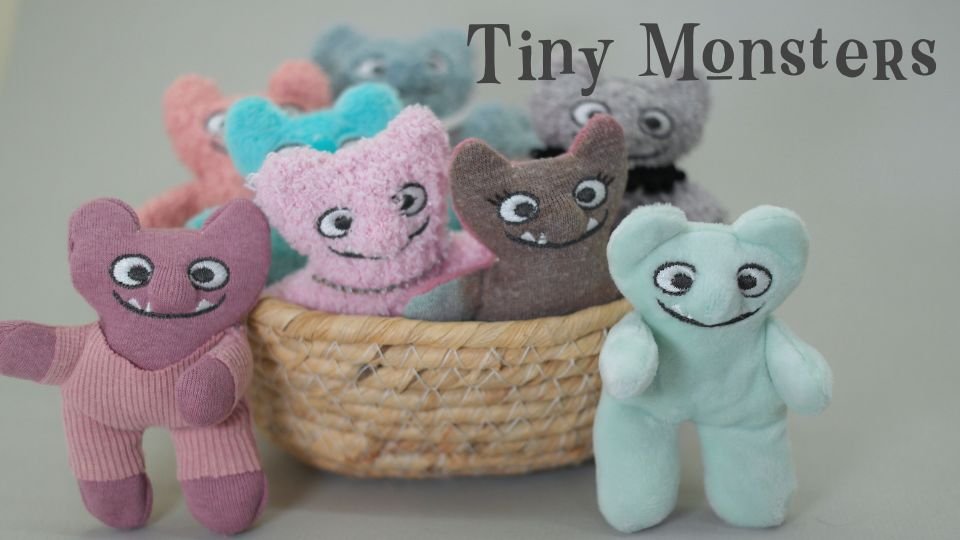
Get your Tiny Monster files
You can get this cute little in-the-hoop design for free when you sign up for email notifications from Ballyhoo Creations. No spam, just useful information. (●’◡’●)
Nine machine embroidery formats are included (DST, EXP, HUS, JEF, PEC, PES, SEW, SHV, VIP, VP3, XXX), plus instructions with color photos.
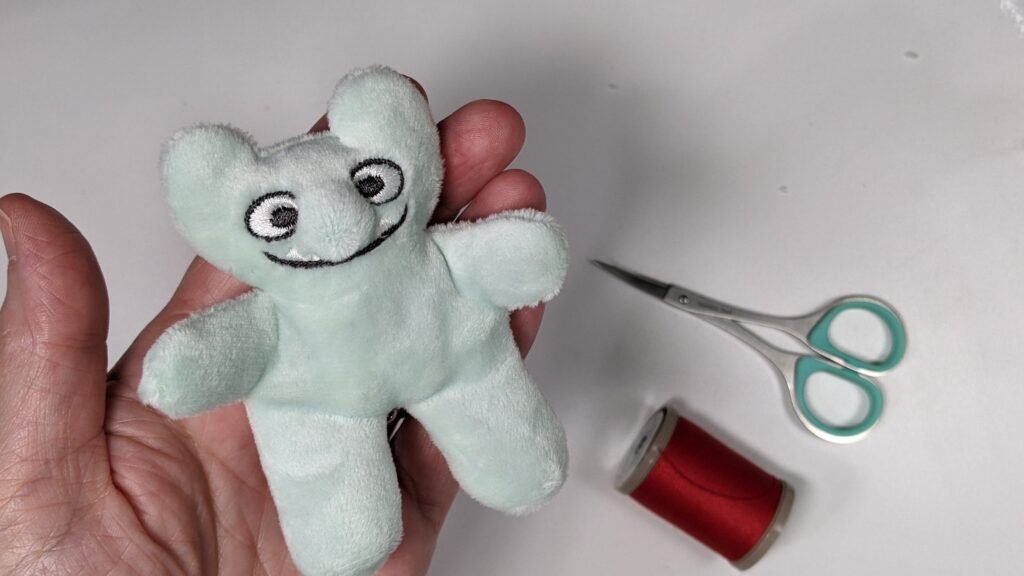
How tiny is he? About 3 to 4 inches tall, depending on your fabric and how much stuffing you put in there. Stitch your monster in a 4×4″ hoop on your embroidery machines. Multiple file formats are included with color photo instructions.
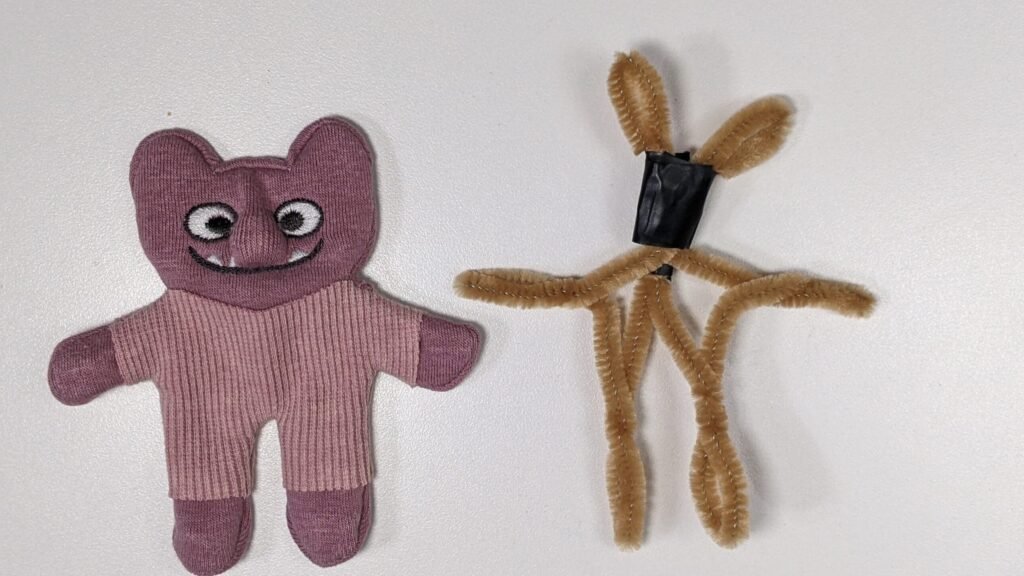
I’ll even show you how to create a simple armature using chenille stems (pipe cleaners) so you can pose your monster. (Wired monsters should not be given to small children)
Embellish Your Tiny Monsters…
Here are some ideas to jump-start your creativity. You can probably think up a few of your own with your existing stash of craft supplies.
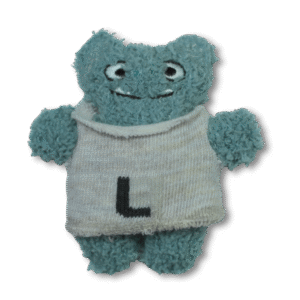 |
Create a simple sweater. Just cut a tube of sock (or sleeve) and poke tiny holes to pull the arms through. |
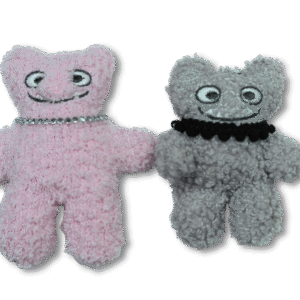 |
Add trims to bling your monster. |
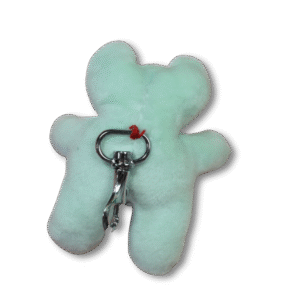 |
Stitch hardware on the back such as a keyring, brooch pin, hair barrette, whatever you prefer! |
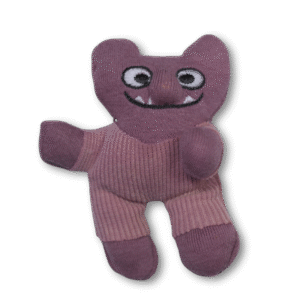 |
Create a sewn-on romper with stretch fabric. Right before you sew the seams, add two rectangles of fabric with right sides together and position them so they are at the neckline and partially on the legs as shown.  |
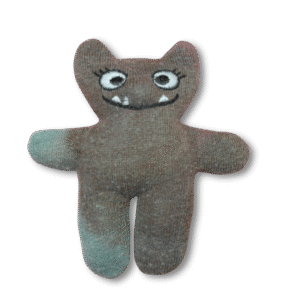 |
Create eyelashes, eyebrows or other facial features with a fine marker. Pigma Micron pens work well on fabrics. |
 |
Add the pom-pom on the outside for a fluffy nose. Or stitch the arm seams closed for an armless monster thingy. |
 |
Make shoes or boots out of clay. Air dry or epoxy clay works well. (I accidentally used fabric that was too short, so the seam missed the foot area and left the legs open at the bottom. It was a happy accident! I created these clay slippers, and now he can stand on his own.) |
Leave a Reply
You must be logged in to post a comment.