
Your cart is currently empty!
How to make hair for your cloth character
Everyone has a different way of making hair for their art dolls and given enough time, you will develop your own favorites. This article is not a complete list of making hair for dolls – an entire book could be written and still leave stuff out. But I hope to get you started and maybe introduce some materials and methods you’re not familiar with.

Materials and Methods
To start off with an introduction, this video shows different materials I’ve used for hair and talks about several methods such as braided yarn, faux fur, and natural fibers like mohair or teesdale locks. The videos further down will show you how some of those methods are done.
Natural or Synthetic fibers?
You have many choices with doll hair but they can be grouped into 2 broad categories: Natural fibers and synthetic fibers. Which one should you use?
The natural fibers are things like wool, silk or mohair yarn, any kind of wool locks, or even natural furs. They have a “real” hair look to them and can be very beautiful. The downside of natural fibers is PETS. Dogs and Cats can still smell the animal those fibers came from and will often seek and destroy any doll made with wool, mohair or other animal fiber. So use caution! This is especially important for children’s toys because they’re beloved new friend {doll} might get eaten by their beloved old friend {pet.}
Synthetic fibers are things like acrylic or nylon yarns, synthetic furs, or packaged doll hair from the craft store. These are usually cheaper, but often they have a “plastic” shine to them so they’re used less for art dolls and more for play dolls. There are always exceptions! And synthetics don’t entice your pet to chew them to bits so that’s a big plus. These are more likely to come in more colors so you may have more choices, although that is changing with small sellers offering hand dyed yarns and locks these days.
I highly recommend you play with various fibers and try them yourself if you can. Or just pick one you love and stick with it. There’s no right or wrong way to make your creations. But knowing about the Pet problem and natural fibers is a heartbreak I’d rather you avoid. Nobody wants to see their new cloth character reduced to fluff and bits on the floor.
In-the-Hoop faux fur wig
This is my favorite method because it’s done in the machine embroidery hoop (ITH= in the hoop) so the hair is done when the doll head is stitched. You’ll need faux fur for this method.
This video show how to stitch fur onto the doll head while stitching the head. You can also make a wig for a doll head and glue or stitch it to the head.
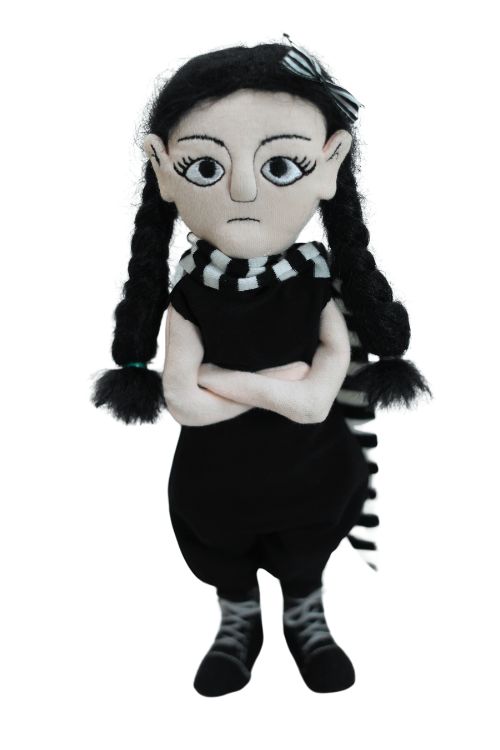
Yarn wig {with braids or other hairstyles}
Looping yarn around a book or card is a tried and true method of creating hair for your dolls and characters. You can use any kind of yarn for so many different looks. (caution! this can lead to yarn hoarding. Don’t ask me how I know this.)
The next video shows how to stitch the yarns to create a parted wig for the doll hair, then you can glue or stitch it to the doll’s head and style it however you like.
You can braid the hair or leave it loose and style however you choose.
Brushable mohair yarn
I’m not the expert on brushing out a mohair yarn wig. But I learned about the technique from the Waldorf doll community and decided to figure out my own method with this special type of yarn. Watch the video and maybe you’ll get some creative ideas of your own with this mohair yarn.
Wool Locks – stitched or glued
Last but not least are the wool locks that make the most gorgeous and natural looking curly hair. If you’re skilled with hair, you can even strighten or style these locks like human hair but that’s a job for somebody more ambitious that me!
The video tutorial shows a stitched wig and also a glued wig using teeswater locks but you could do it with any type of locks, wefts or synthetic doll hair.
Wow! That was a huge info dump. Are you still with me? I really hope that helped you decide how to customize your own cloth art dolls – or any doll could be adapted to use some of those methods.
Want to Keep Learning?
Free Video Series
Learn the skills for making dolls, plushies, and puppets in my free video series.
