Faux Feathered Wings Add-On
$2.00
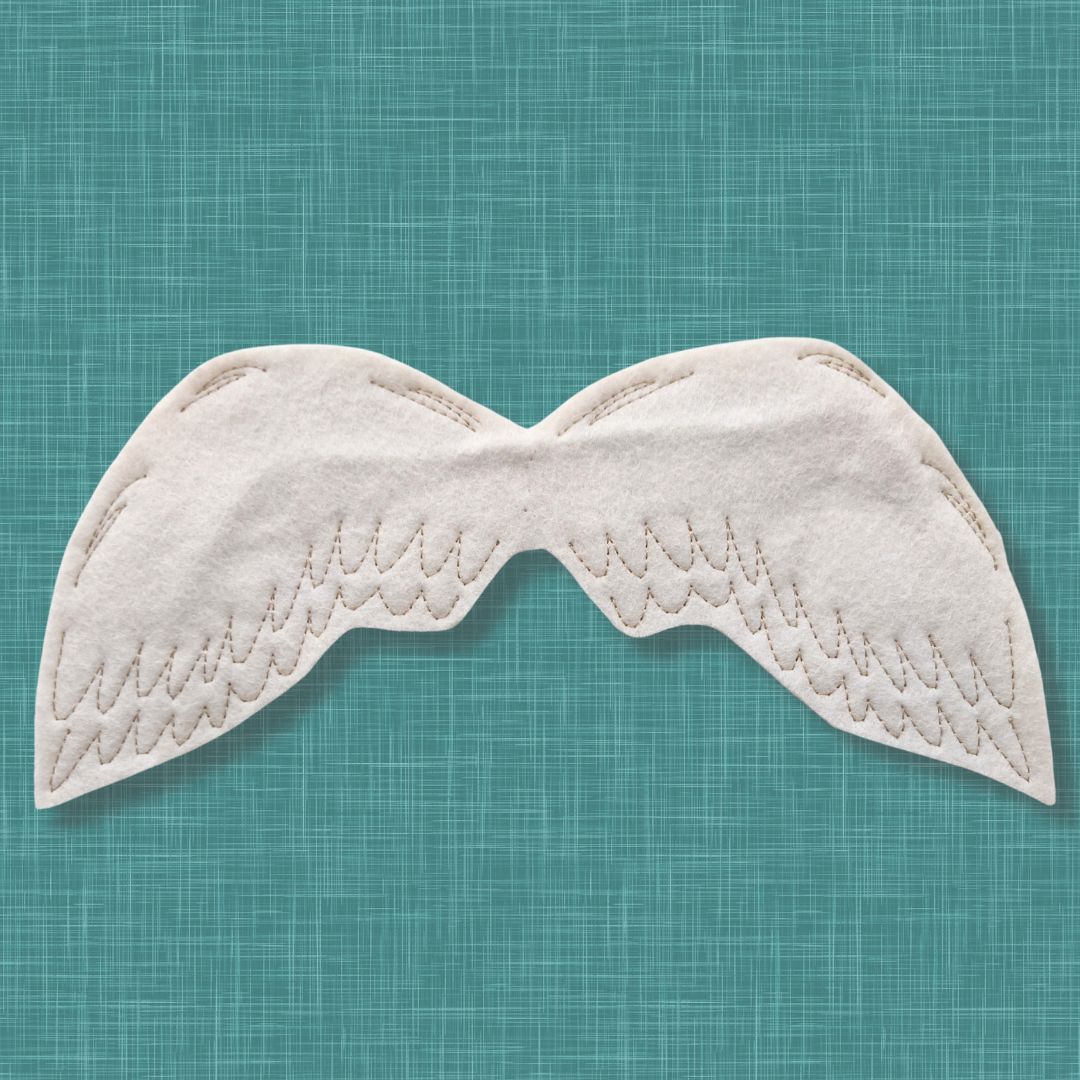
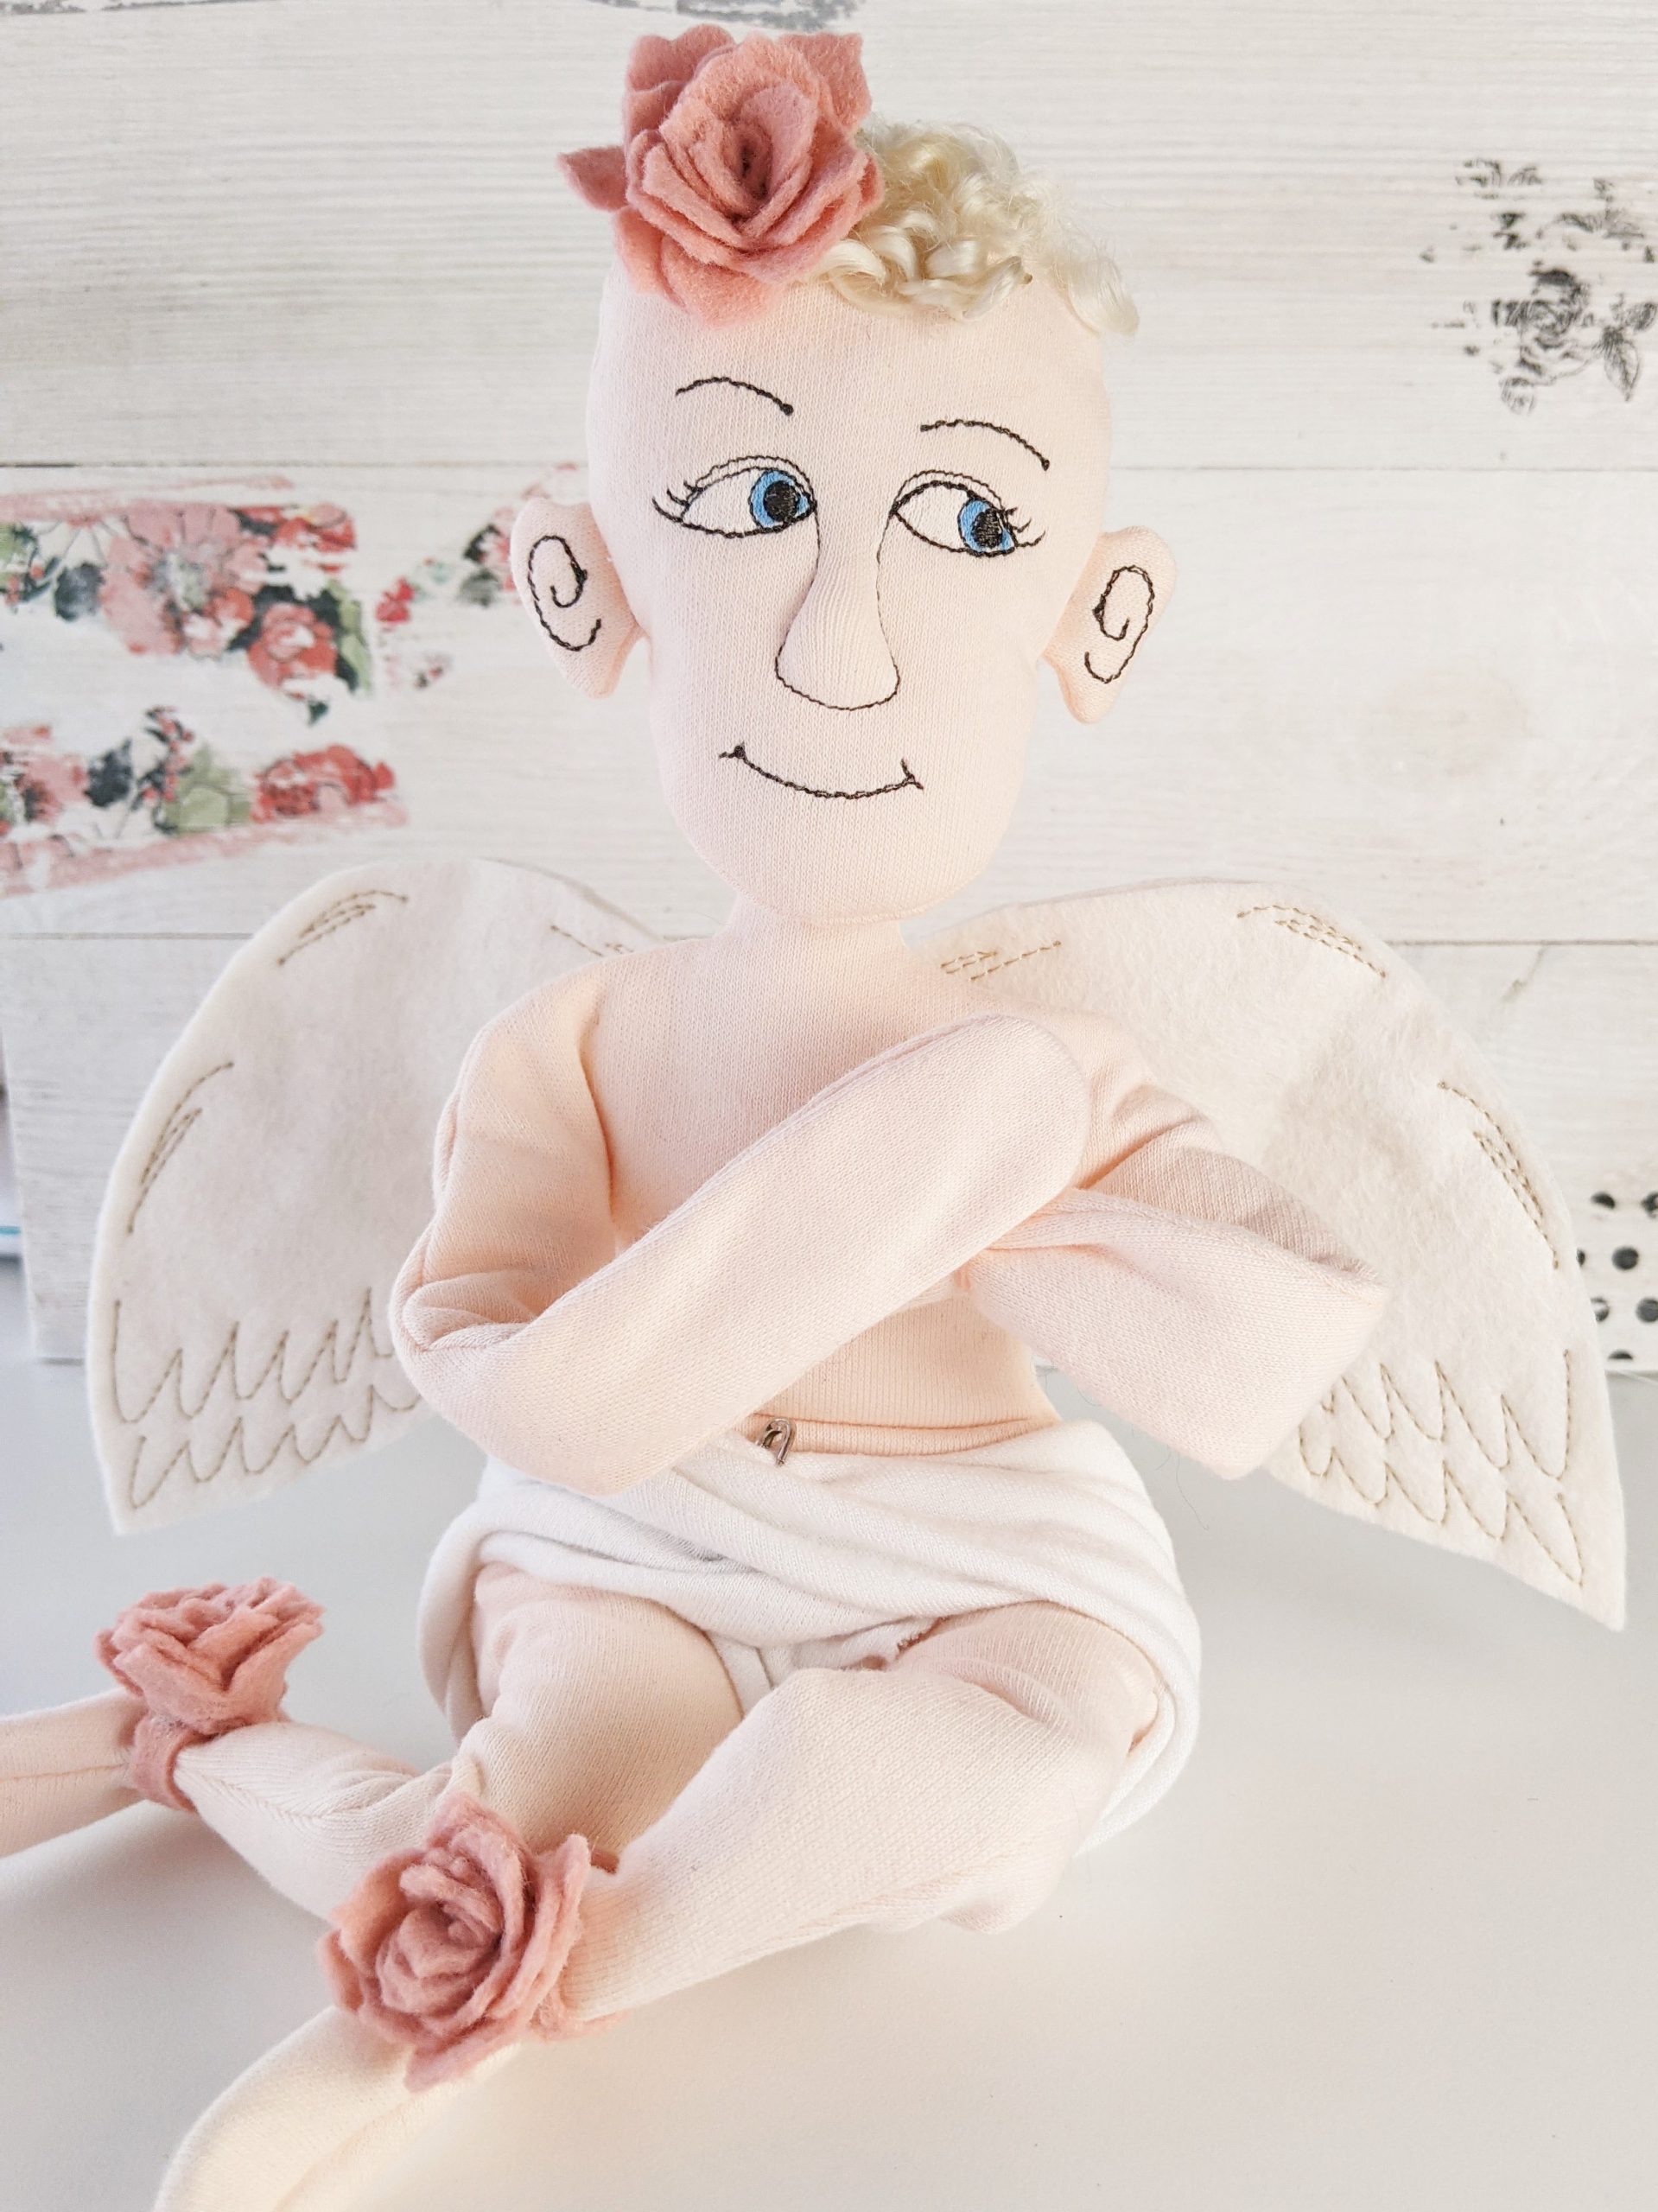
Add faux-feathered wings to your cloth character or other projects.
Quick and easy to make with one sheet of felt in one hooping.
- Stitched in the hoop of your embroidery machine, then cut out around the stitches. Simple and quick!
- The instructions file in the download also includes a method for stitch-cut-turn construction for a more finished look.
- Open areas between stitch details allow you to add wire or pipe cleaner to give the wings shape or pose them
- These were designed to fit the Cloth Character Collection of dolls at Ballyhoo Creations but may fit other dolls as well. Check the “details” tab for measurements.
All designs are digital downloads for embroidery machines. Files will be available immediately after purchase on a download page.
Skill level: beginner
Be sure to check the tabs above for more info like Instructions, Supplies, and Specs!
Instructions
These instructions are included in your download as well as here…
For Feltie Style wings:
1. Hoop tear-away stabilizer in the appropriate sized hoop. (design file names include the
required hoop size)
2. STITCH COLOR 1 onto the stabilizer for a placement stitch
3. Place felt or other non-fray fabric to cover the placement stitch on the top of the hoop. Then
place another piece of felt on the bottom of the hoop. Use tape, basting spray, or glue stick to
hold the pieces in place on the stabilizer.
4. (optional) select a bobbin thread to match your top thread if you want the back of the wings to
match the front.
5. STITCH COLOR 2 which will stitch the feather details and join the top and bottom fabrics.
6. Remove project from hoop.
7. Carefully tear away the stabilizer from the outside of the wings. You will need to clip the
placement stitches so they get removed with the stabilizer.
8. Cut out wings using the stitching as a guide. There is no outline on the wings, so you can get
creative with the wing shape or simply follow the stitches as a guide. It’s your project – your
choice!
9. Attach wings by either hand stitching them or gluing them to the back of your doll.
Details
PDF documents included in your download:
-
- color/stitch order guide with templates and instructions
- License file (defines how many finished products you may sell of this design)
Your downloaded .ZIP file will include multiple sizes and machine formats in case you upgrade your machine to a bigger hoop or different brand, you’ll still be able to use these designs!
- These 9 formats are included: DST, EXP, HUS, JEF, PES, SHV, VIP, VP3, XXX
Size charts
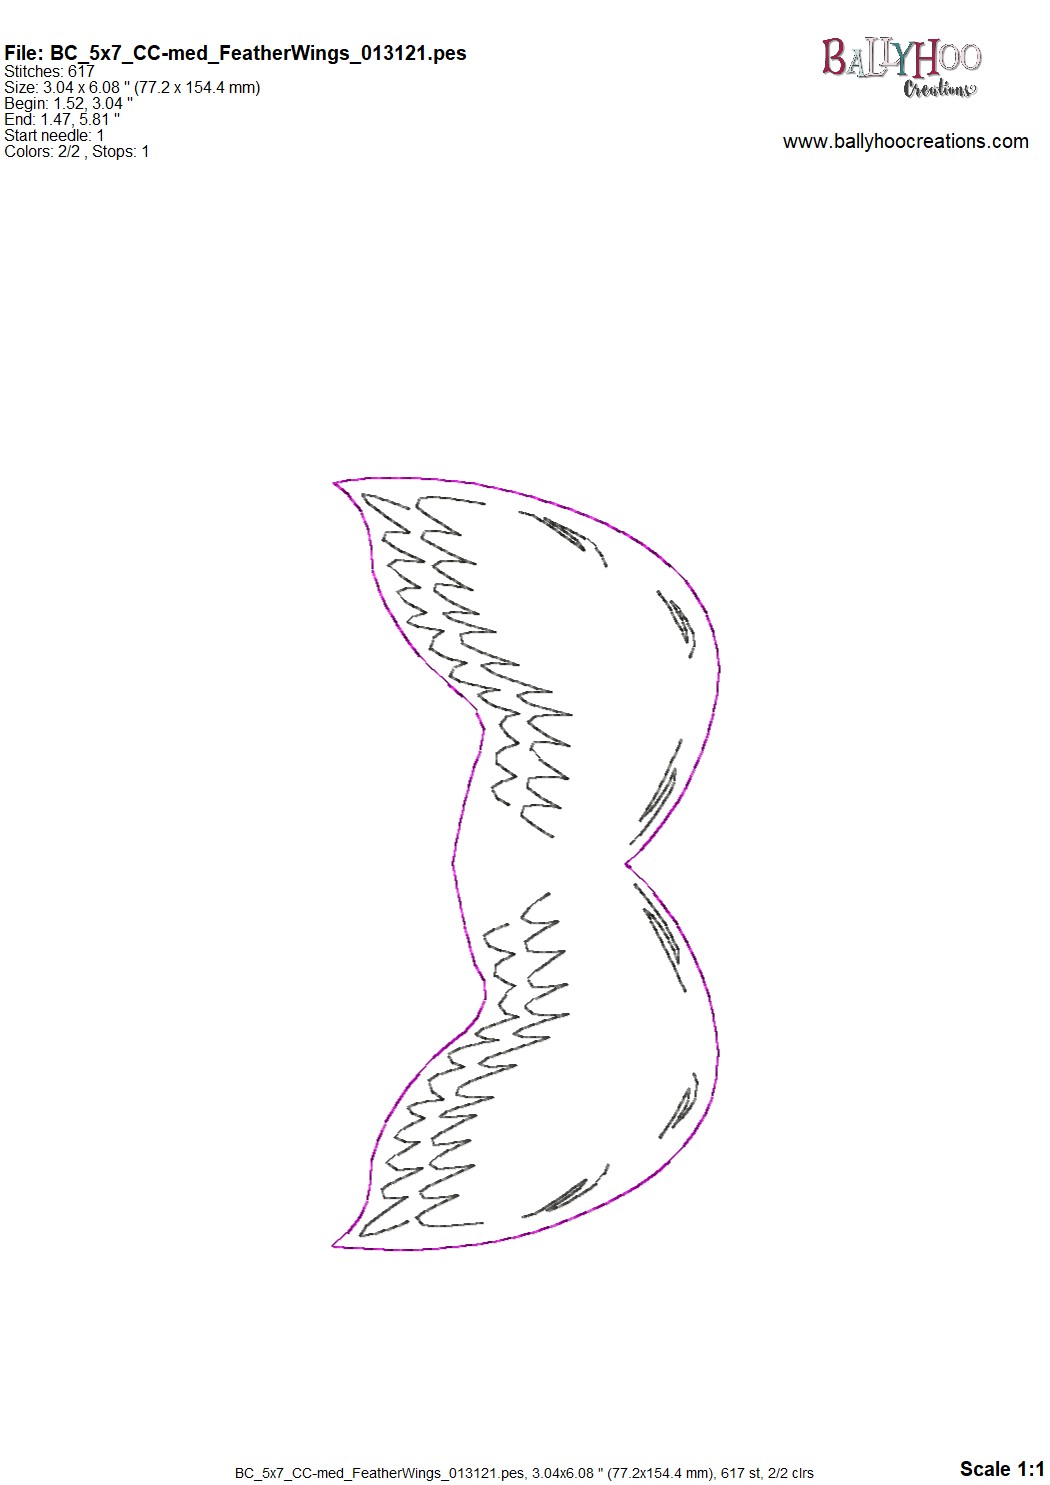
- Small wings fit in 4×4 hoop and has a wingspan of 5.5″
- Medium wings fit in 5×7 hoop and has a wingspan of 6″
- Large wings fit in 6×10 hoop and has a wingspan of 8.7″
- The large size can be made with one sheet of 9″ x 12″ felt (cut in half, one for wings front and the other half for the back of wings.) Medium and small will use less than a sheet of felt.
Max purchase quantity = 1
The graphic below shows design measurements, stitch counts, number of threads, and more.
thumbnails of designsSupplies Needed
These are the recommended tools and materials for this machine embroidery project
Tools
- embroidery machine with files loaded
- sharp fabric scissors
- small embroidery scissors
- machine needle (embroidery or stretch needles work fine)
Materials
- Non-fray fabric such as felt
- tear-away stabilizer
- embroidery thread & bobbin thread


