
 Billy in-the-hoop (ITH) cloth doll pattern
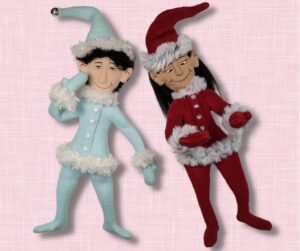
 Project: Elf with Fur Trim in-the-hoop doll

Make a fur-trimmed Elf art doll in the hoop of your embroidery machine with this simple modification to any of the Cloth Character patterns.
These elves look great for Winter holidays grouped together or posed around your Holiday decor.
Easy to make with fleece, and fur yarn!
As with all the cloth characters – you can add a wire armature to make it pose like a wired puppet, or leave out that step.
Read down below to see all the materials and how they were used to make this doll in the hoop of your embroidery machine.
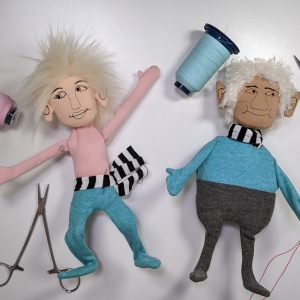
Photo Gallery


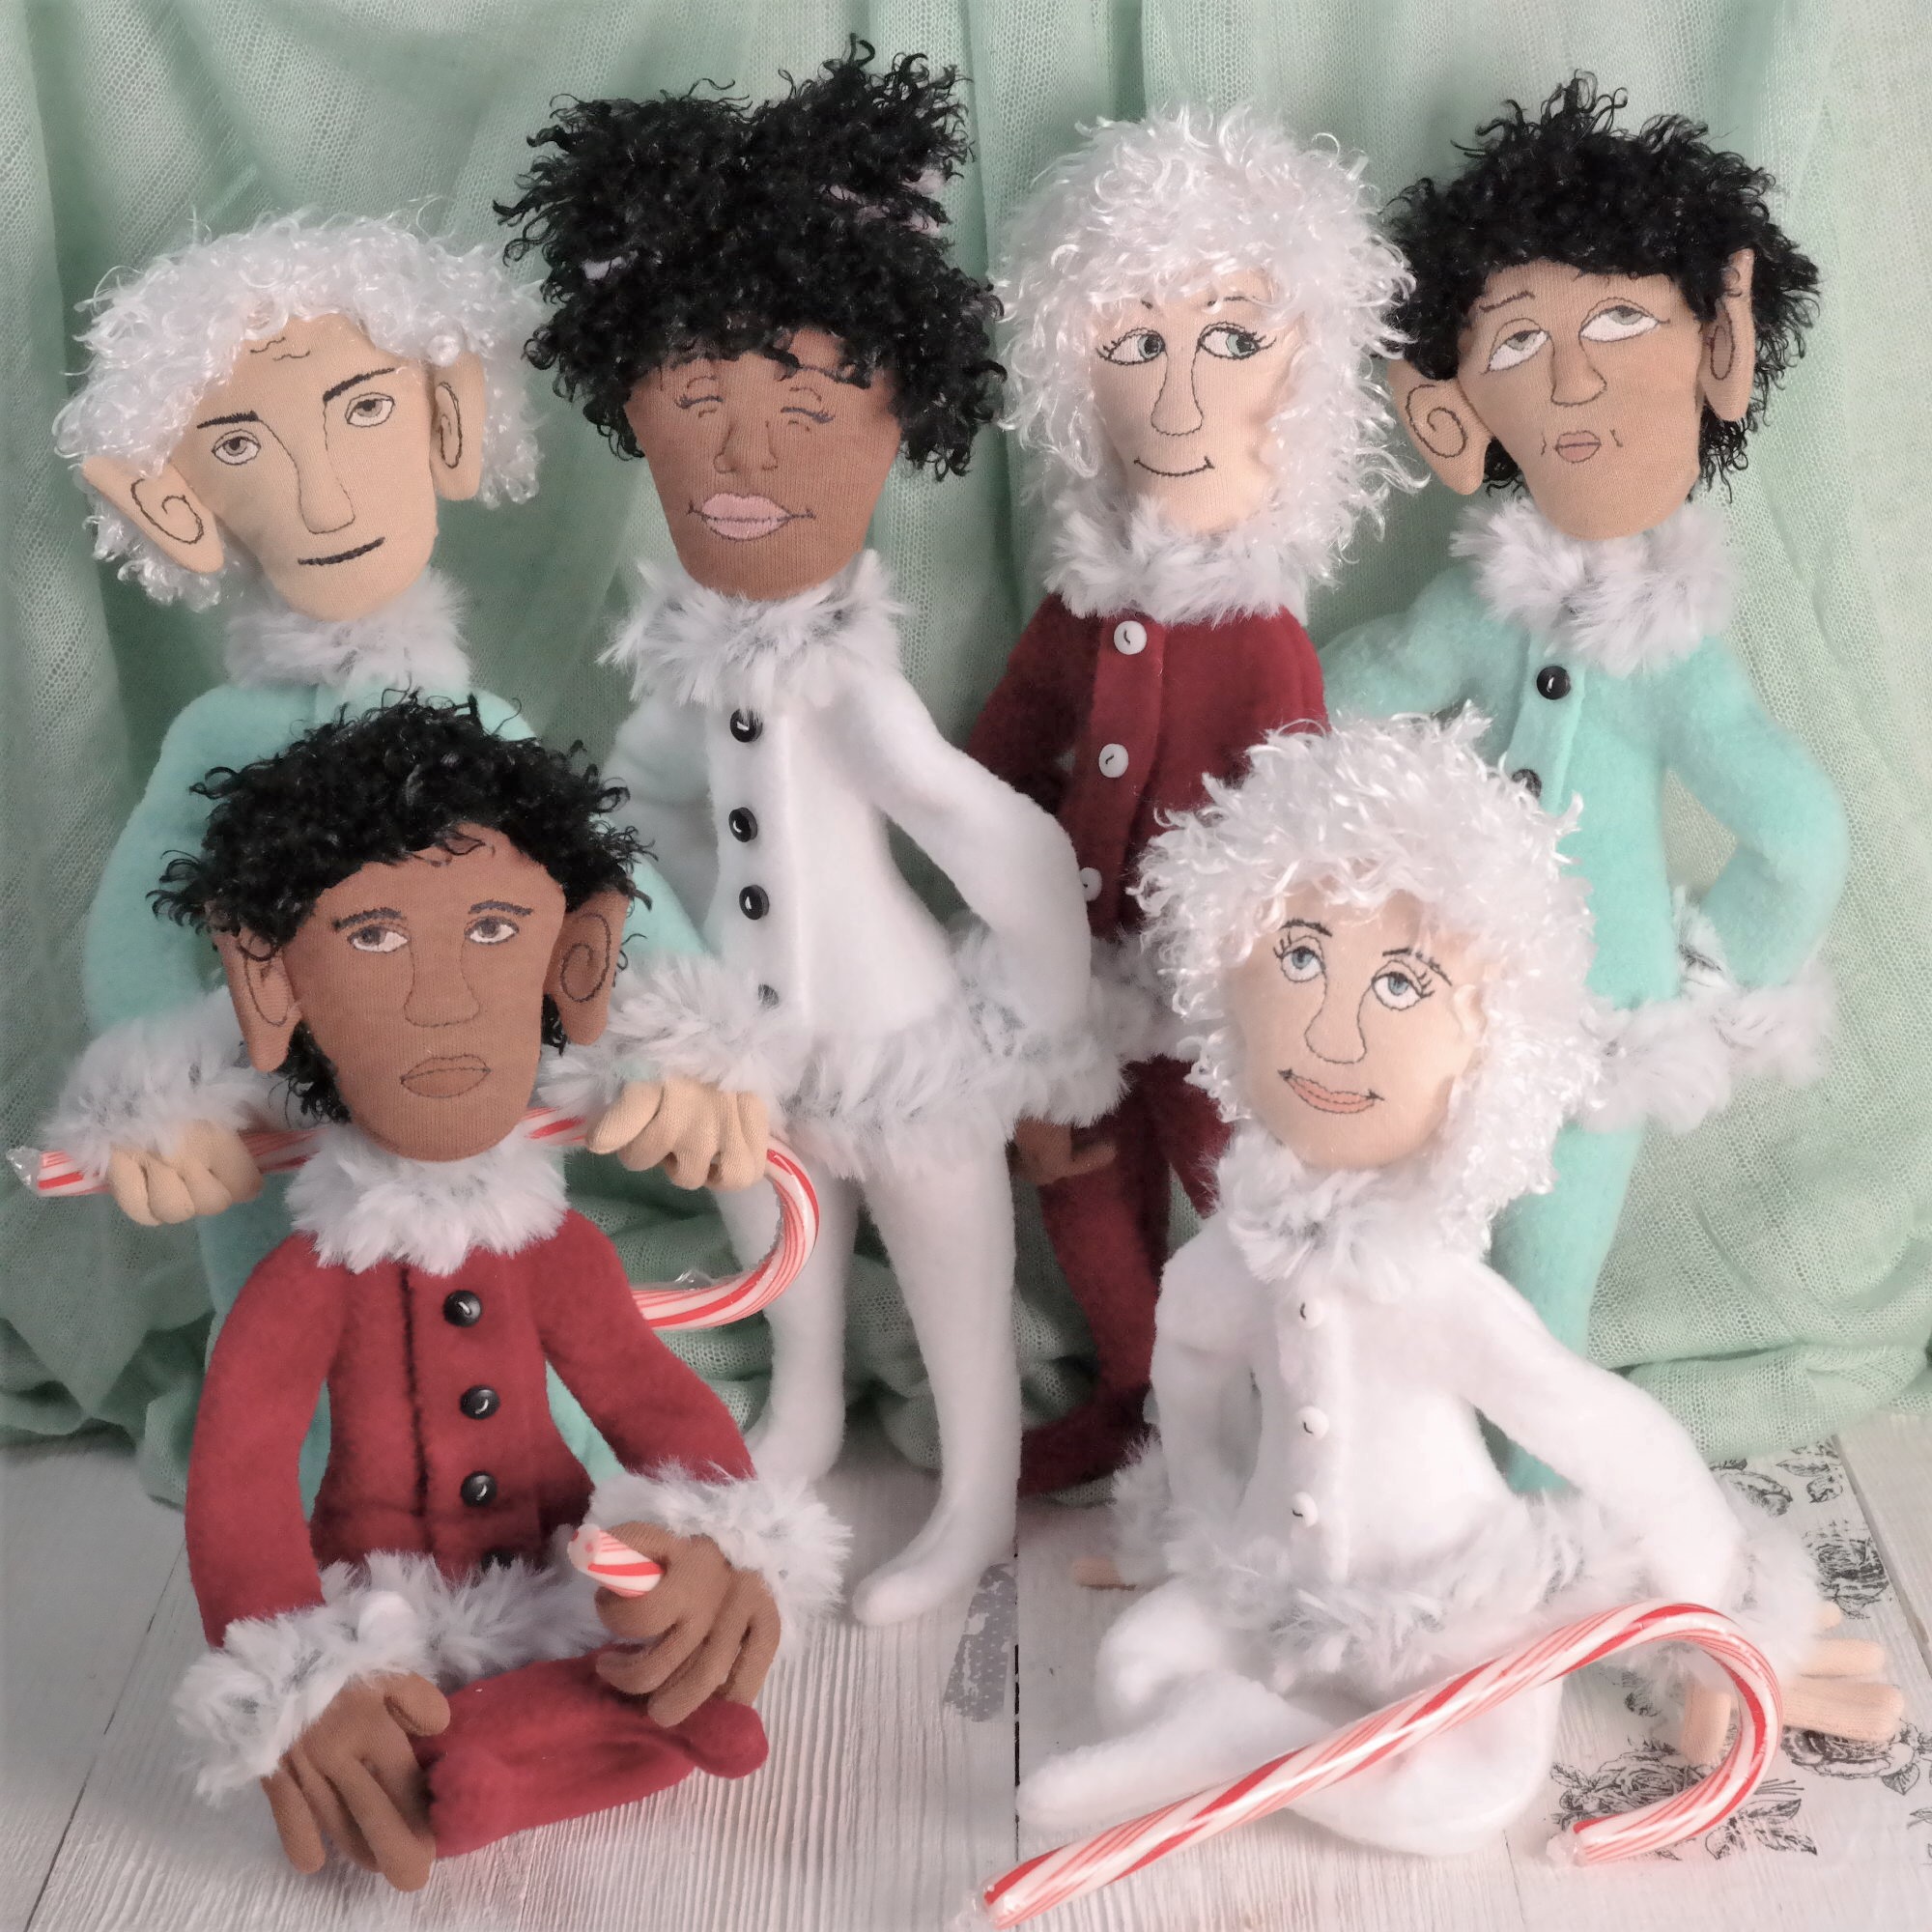
A few photos of the Elf dolls made in the hoop.
| Tools Used | Materials Needed |
|---|---|
| Embroidery machine with 5×7 hoop or larger | polar fleece for the body |
| Hemostats for turning small parts like ears | stretch jersey for head and optional ears & hand |
| sharp fabric scissors | curly fleece or faux fur for the wig |
| small embroidery or applique scissors | fur yarn (these use Lion Brand “go for faux” and the white/grey color is called chinchilla |
| doll needle for hand sewing OR fabric glue | no-show mesh stabilizer for body |
| tiny buttons like these from Hobby Lobby | |
| fiberfill stuffing | |
| (optional) wire cutters and pliers if adding wire armature | (optional) thick and thin armature wire to make it poseable |
Instructions Checklist
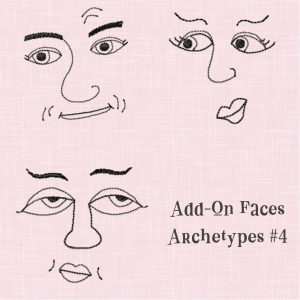
- Make the body, head, and optional ears and hands according to the instructions for your chosen pattern. Add the faux fur wig. The sample dolls use the archetype faces with the elf style ears. The aqua elf in the photos is the Rebel Head from Archetype Pack 4 (see below).
- When stitching the body – skip the steps for the back fold. Instead, lay a flat piece of fleece down for the back. After the seams are stitched, just cut a vertical slit in the front of the doll. Turn and stuff through that opening then hand-stitch it closed with a ladder stitch.
- Cut a 1/2″ wide rectangle of fleece fabric. You probably will have scraps big enough for this after you’ve stitched the doll. Make it long enough to go from the doll neck, down to low on the belly. Stitch or glue the buttons to the rectangle. Then attach this faux button placket to the front of the doll with fabric glue or hand stitching so it covers the doll opening from the previous step.
- Glue or hand-stitch the fur yarn to the cuffs, neck, and around the hips. It will look like the elf is wearing a coat, but it’s just an illusion.


