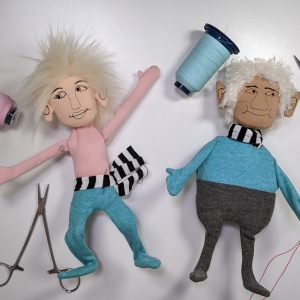
Making cloth doll hands – tips and tricks
I tried making cloth doll hands a long time ago and failed. But I’ve been watching and waiting, and it’s time I conquered that mystical creation that is the hand of the cloth doll.

Several tips and tricks worked for me which I show in the video below…
Tip #1 – Choose the right fabric
It’s important to use a stretch knit fabric. The edges don’t fray like woven fabrics so you’re less likely to get those blown out holes in the fingertips or seams that break open. Here’s the cheapo tip – find a nude colored spandex tank top from the thrift store! I used a cut-up tank top for the
Tip #2 – Small hemostats are your best friend
You’ll need a small pair of hemostats to turn and stuff the fingers. I’m using a 5″ pair and it was
Tip #3 – Tear Away Stabilizer
Nothing made me cuss more than sewing small bits of fabric
I draw my pattern directly onto the stabilizer. It’s stiff so I get a true pattern, unlike the wonky lines when putting lines on knit fabric.
Then I sew directly on the stabilizer with two layers of knit fabric underneath to get my doll hands sewn.
When the seams are done, you tear away that stabilizer. You can try this with paper or tissue paper but those don’t tear away as easily as the stabilizer. ( I bought a big roll of tear-away stabilizer from Threadart years ago and still have a ton of it left)
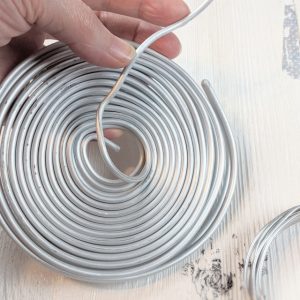
Tip #4 – Don’t use the bumpy chenille stems like I did
Duh. I used the only Chenille stems in my stash and the fingers turned out bumpy from the ridges in my chenille stems. It’s more evident in the video but it’s not too bad as you can see below. I’ll get some better pipe cleaners at the craft store. You don’t need anything fancy – but you should bend the tips of the wire so they don’t poke through your doll fingers.

These hands were not perfect, but I’m perfectly happy with them for this initial try. I’ll be working on them some more and hope to share a hand pattern, and a doll pattern, with you soon!